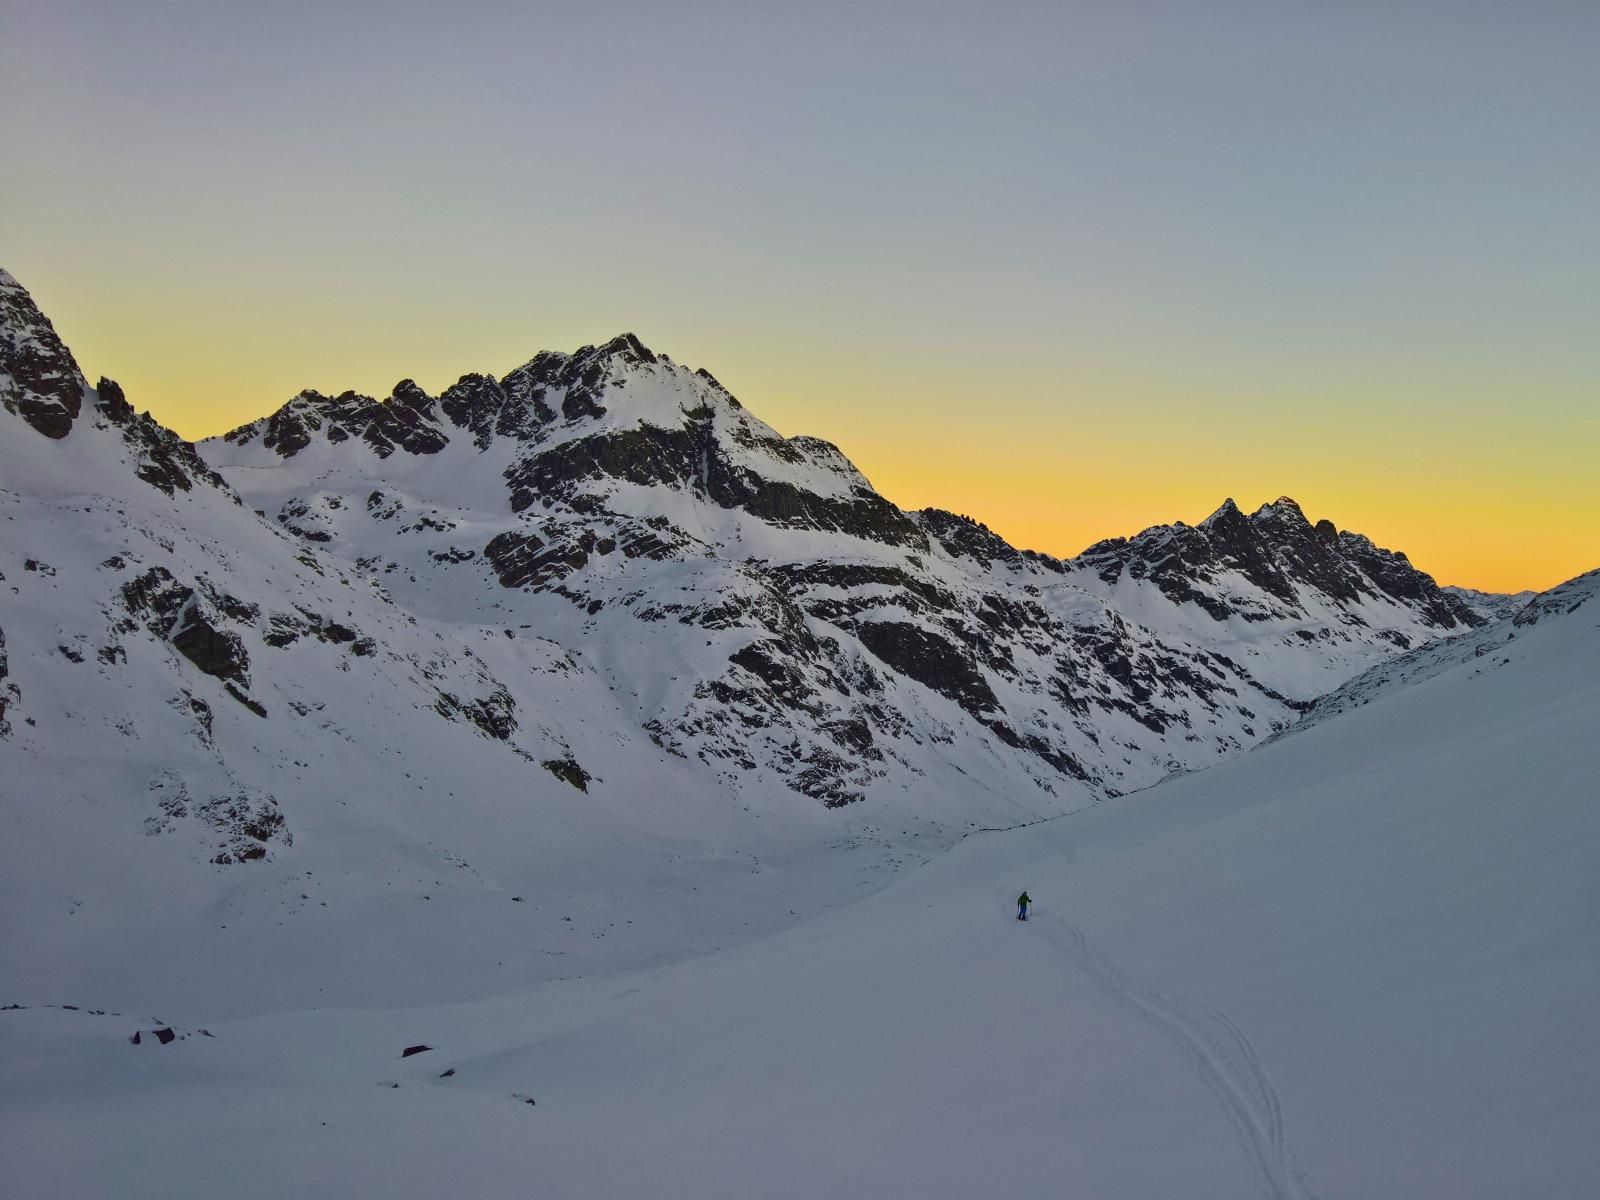
Schneeglocke and Piz Grambola
Route Character
Snow-safe glacier tour, which can be done during the whole winter in case of safe avalanche conditions. The ascent of the summit and the connecting ridge to the Piz Grambola (node) should only be done with good alpine experience.
Starting Point & Village
Starting point: Vermuntbahn parking lot. Take it to the top station and from there by bus to Bielerhöhe. Village: Partenen
Ascent & Route
From the Bielerhöhe you descend shortly down to the lake and then put the skins on. Usually the lake is frozen over in winter and even partly groomed, so that it can be crossed in a straight line. At the end of the lake (Klostertal) you keep to the valley on the right and ascend through gently rising terrain to below the Klostertaler Umwelthütte.
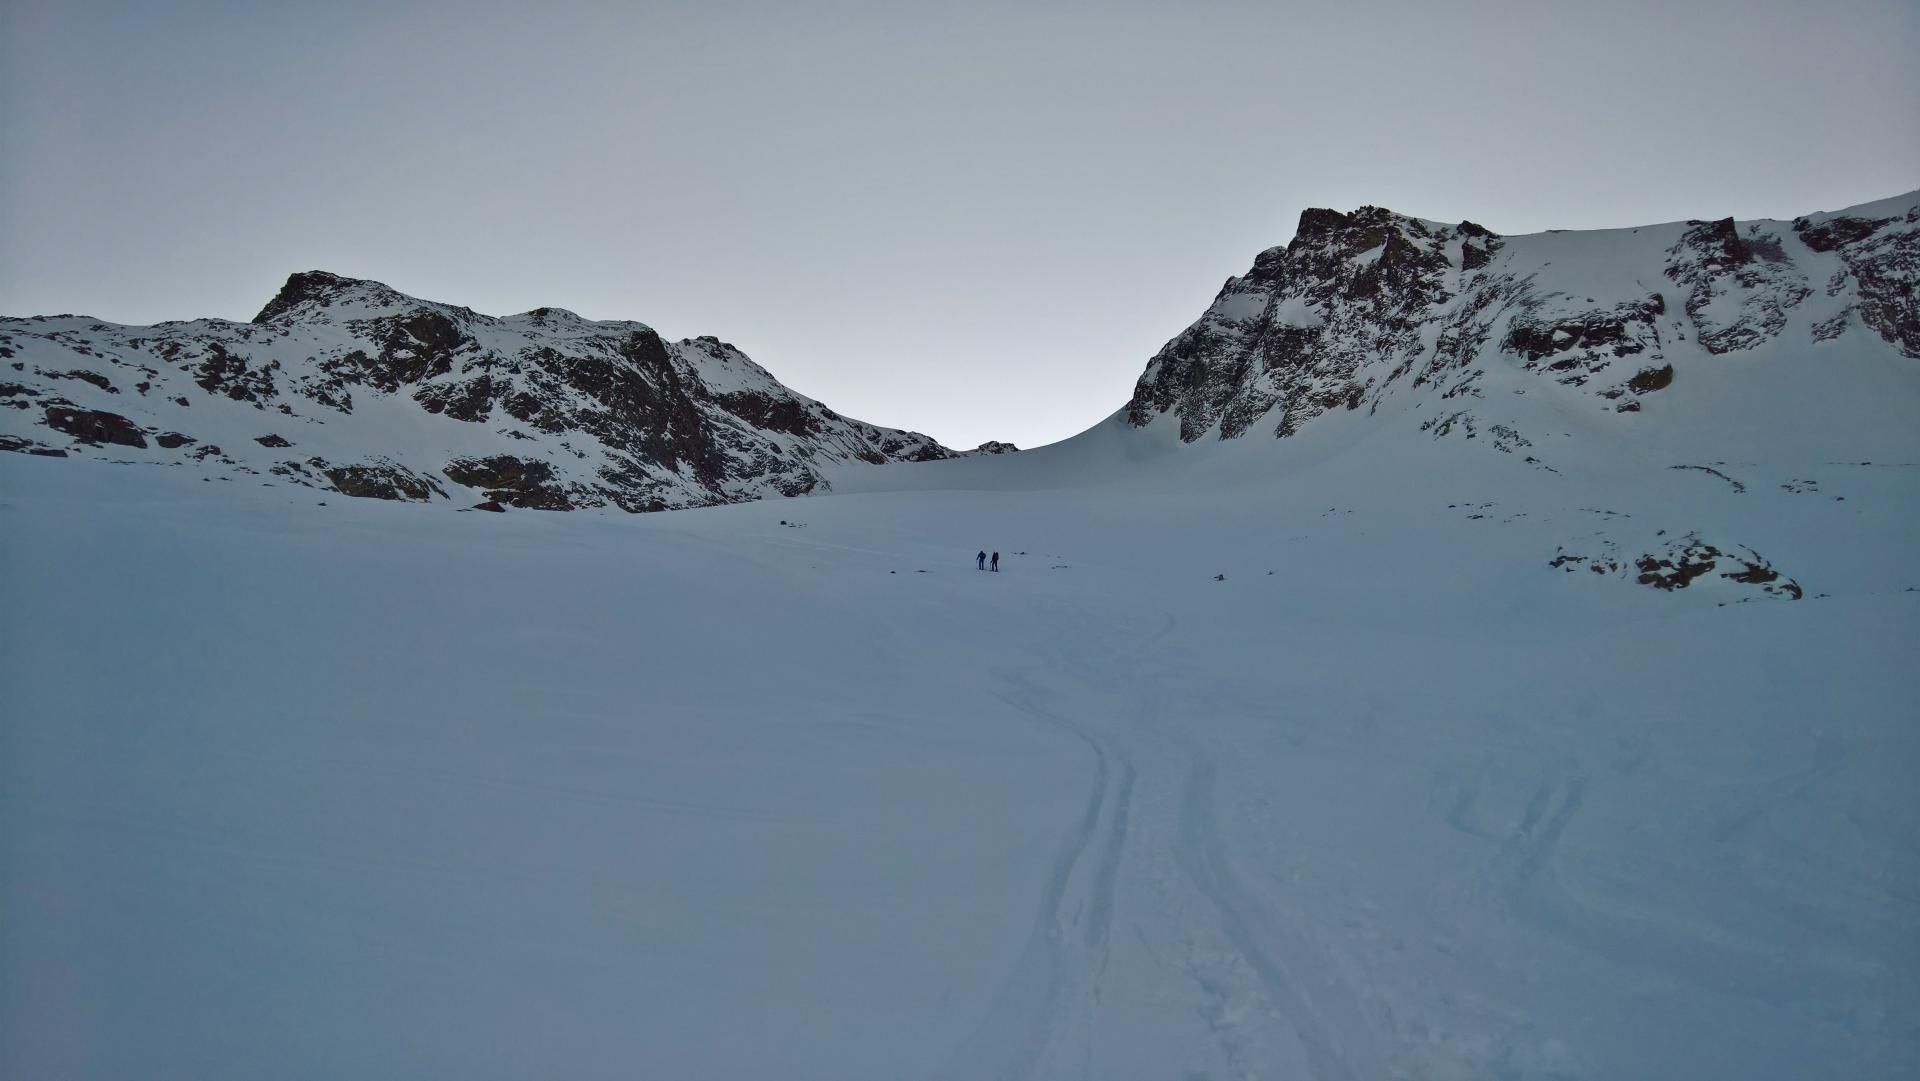
You now follow the Klostertal further uphill, always keeping to the left (east) of the stream. Via a wide left turn you reach the Klostertal Glacier and follow it up to the Rotfluh gap. Usually, there is already a good track here.
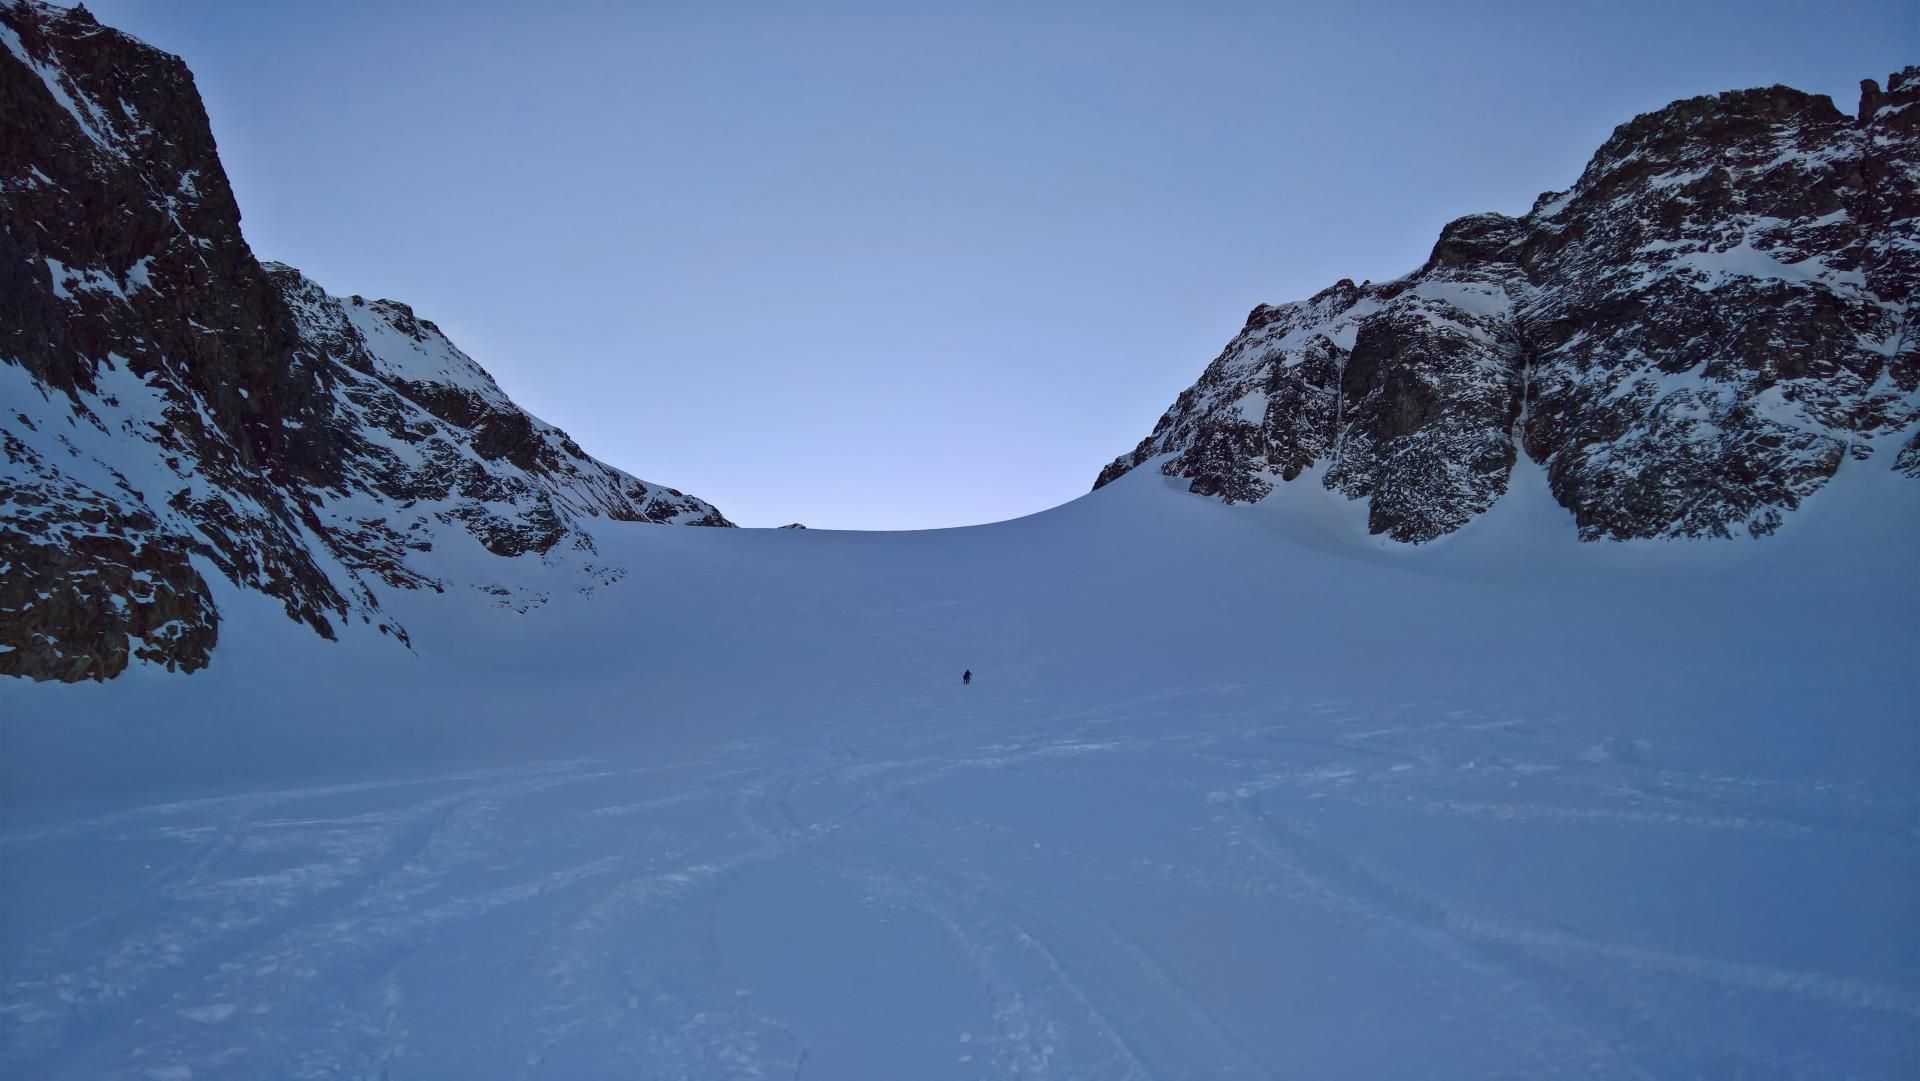
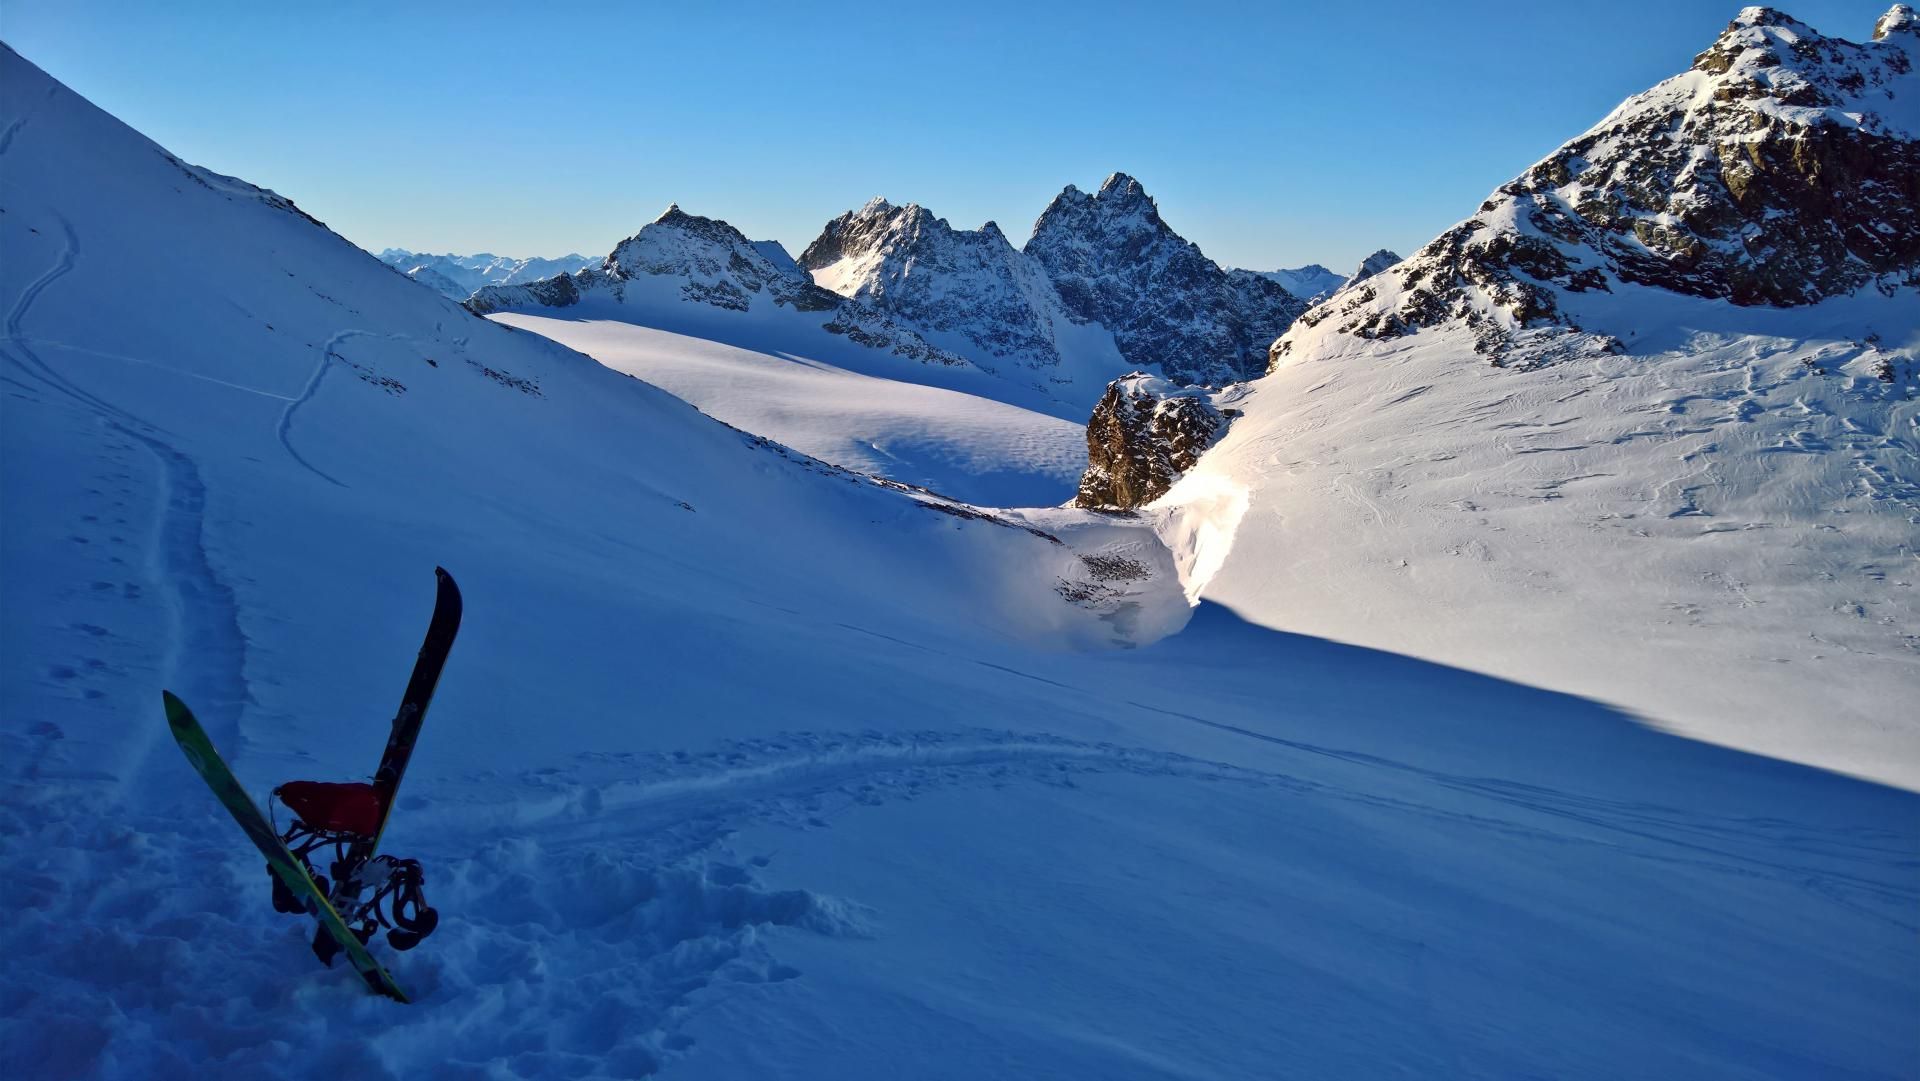
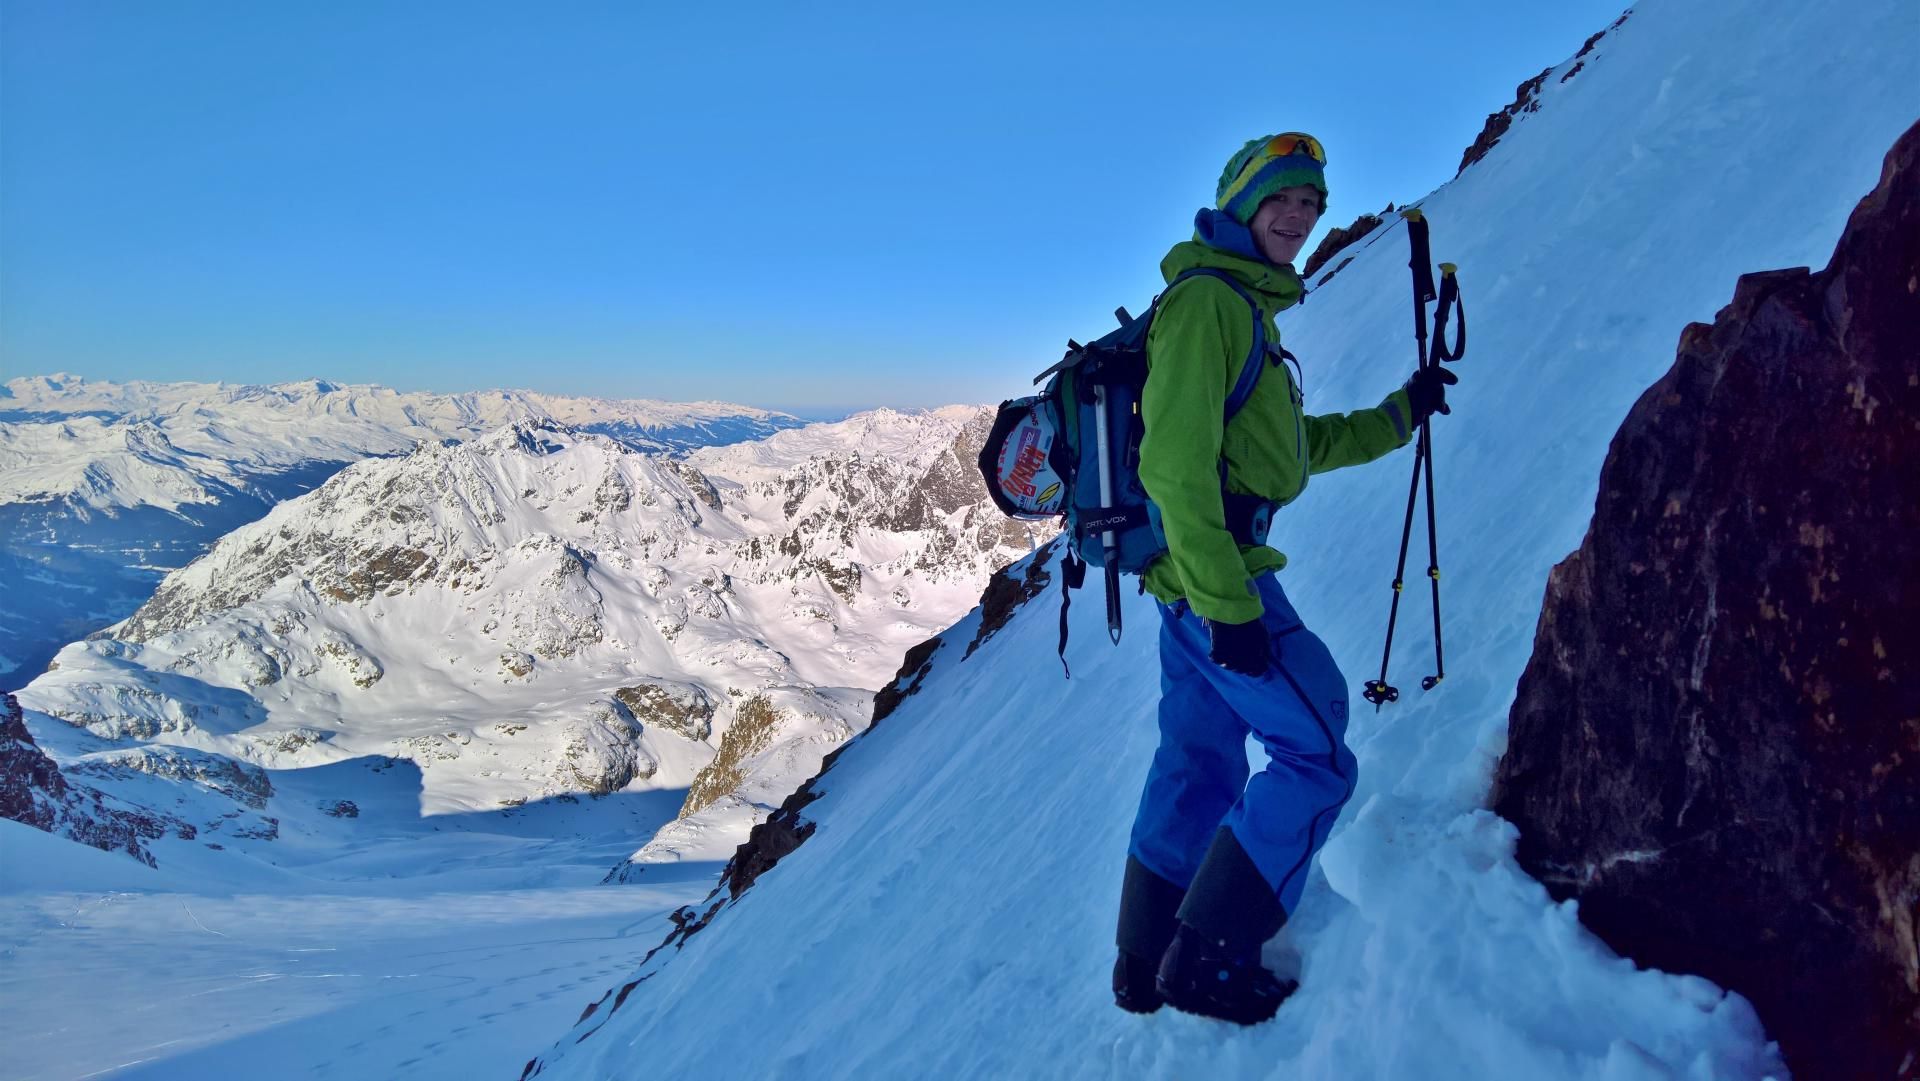
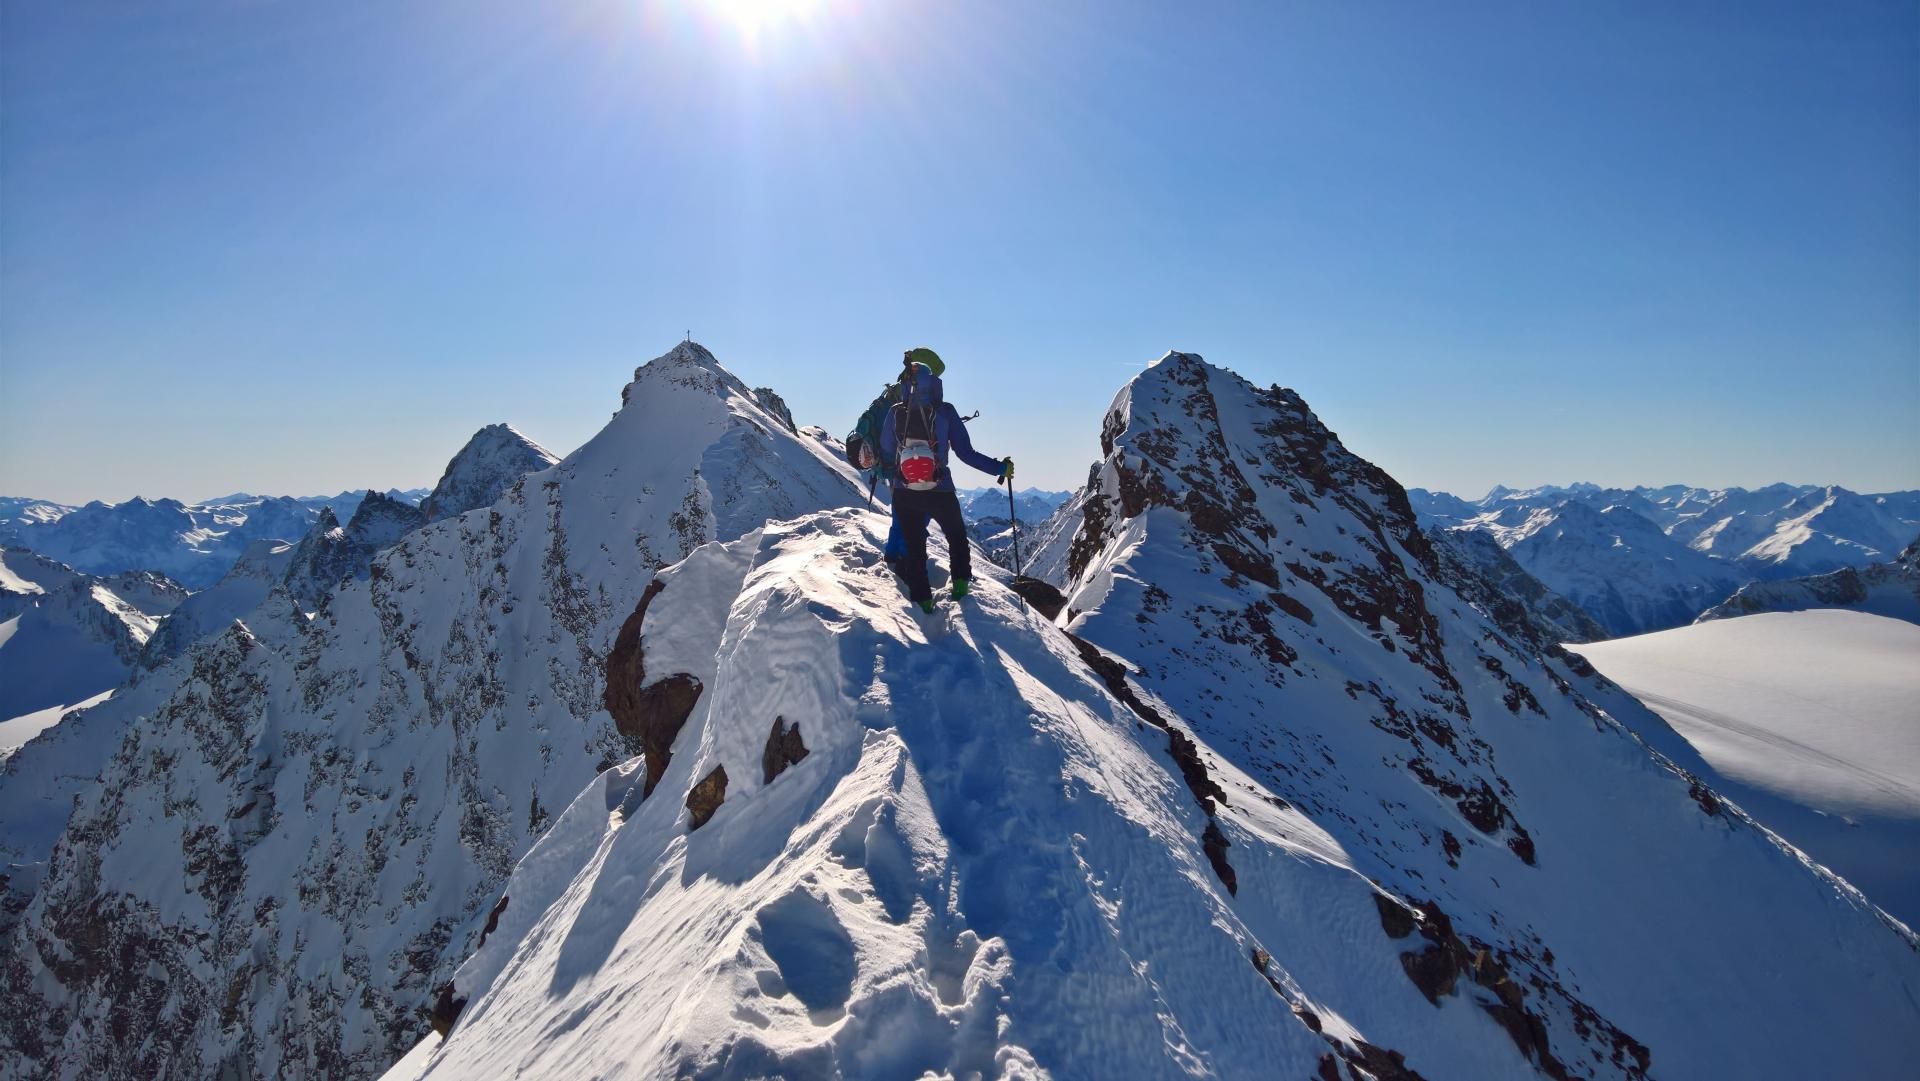
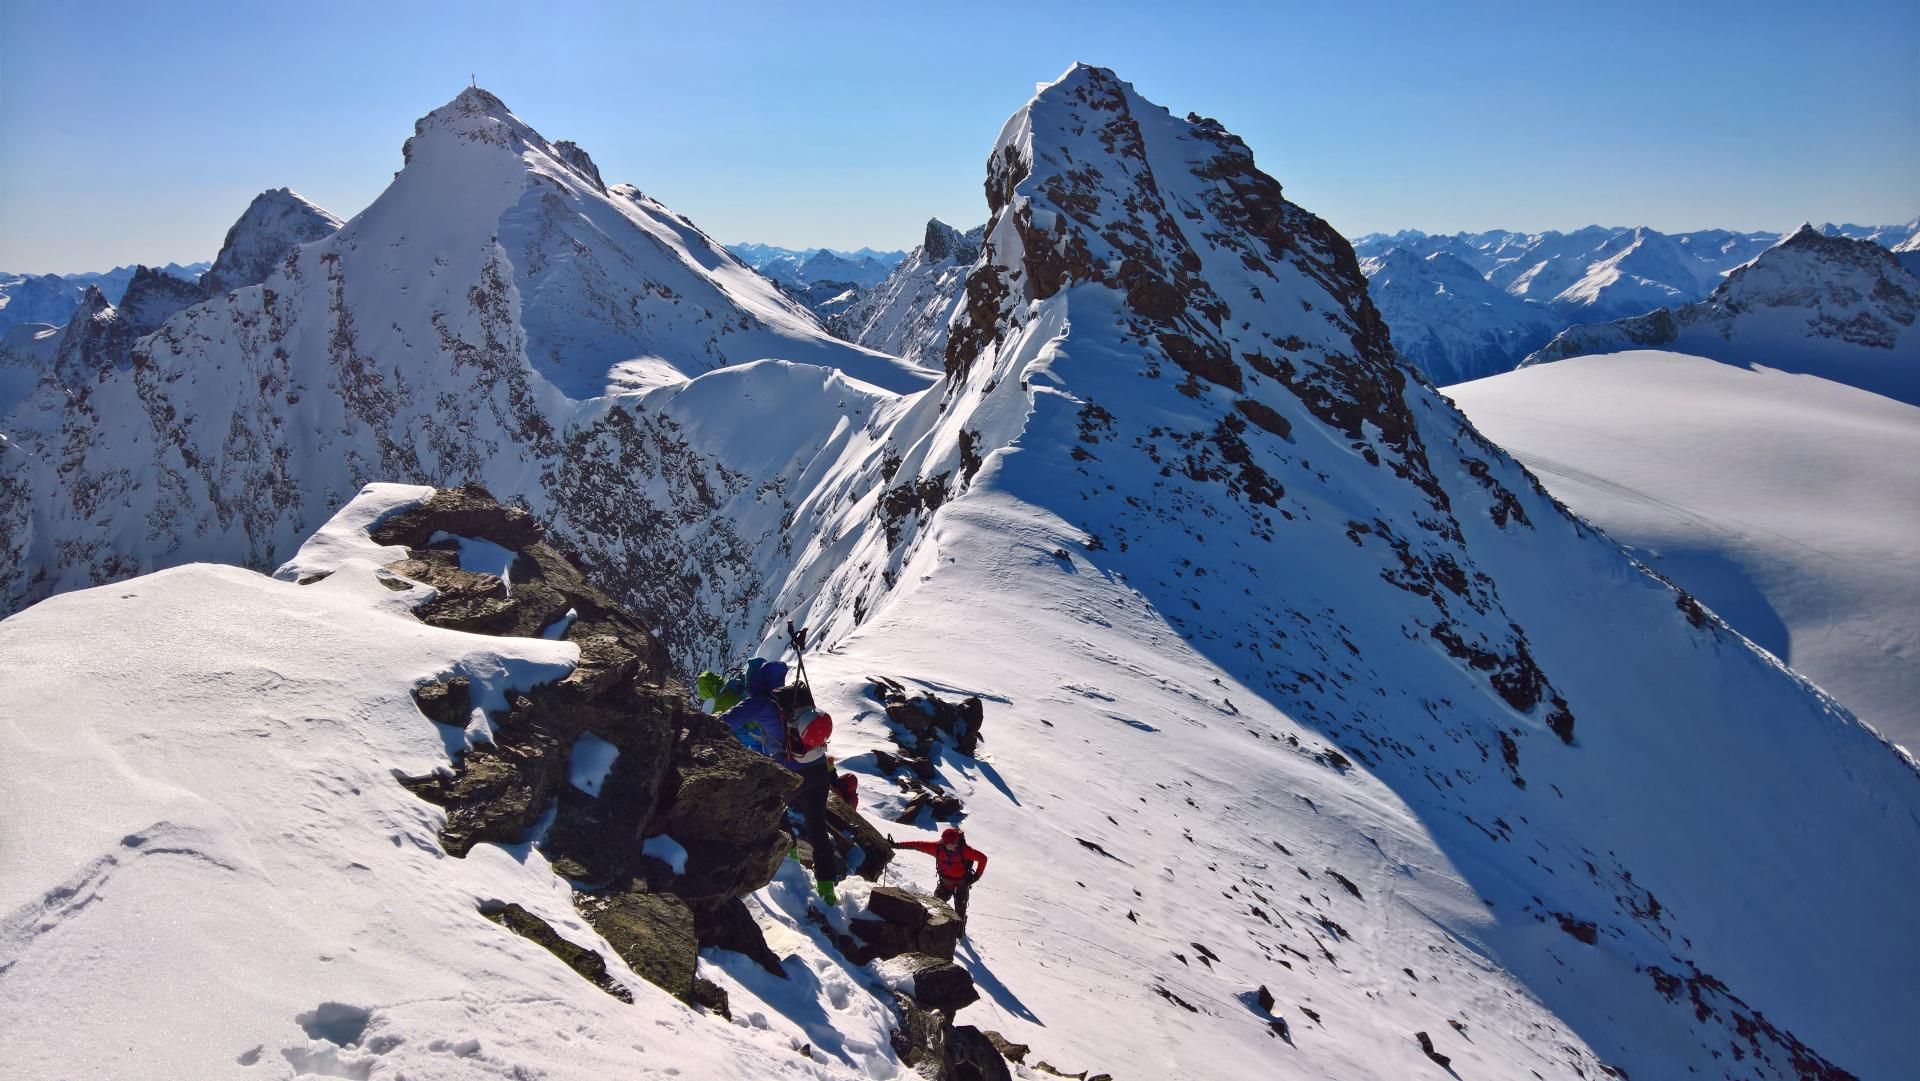
There are now two options for climbing up to the Schneeglocke. The GPS track covers both. In my case, we have made a depot under the ridge boom and continued by foot. Under safe conditions, you can also climb the steep snowfield (35-40°) towards Piz Grambola with the board. Below the summit or over the crest you can cross to the wide ridge towards the Schneeglocke.
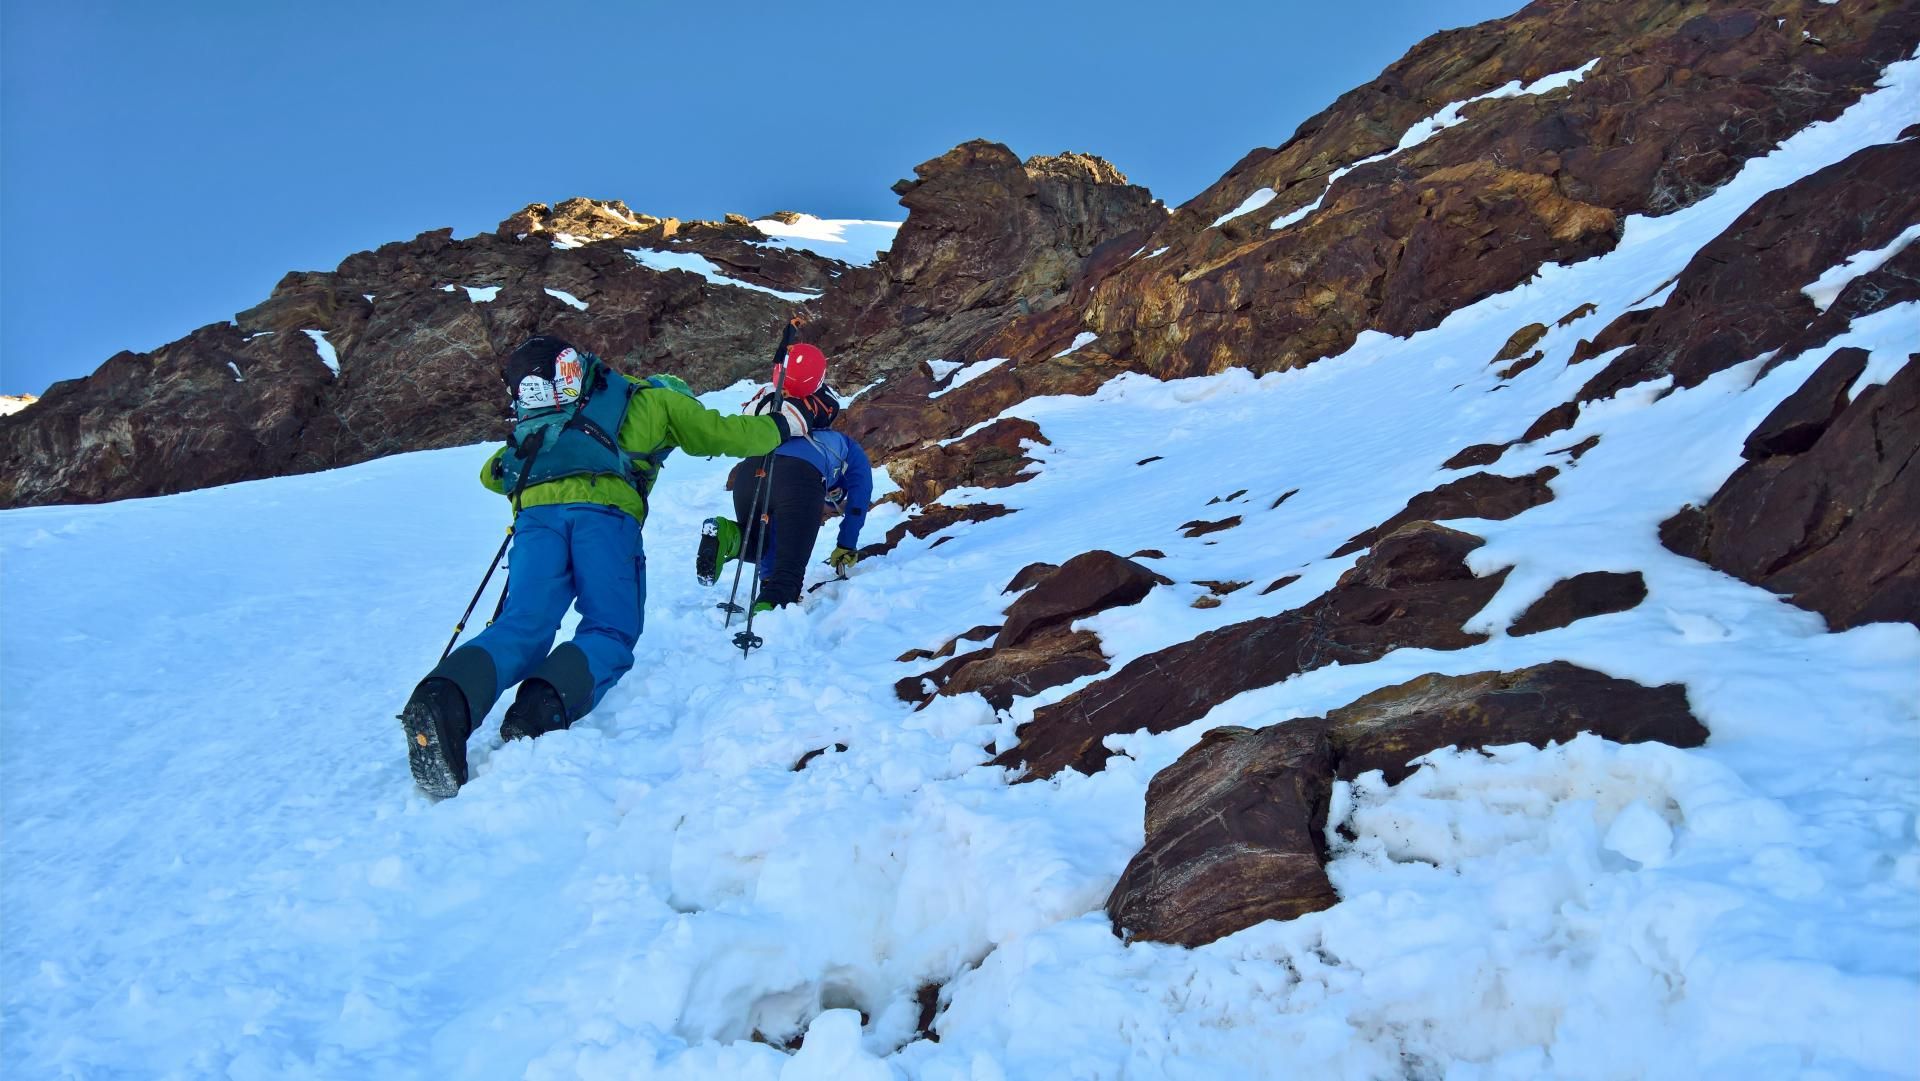
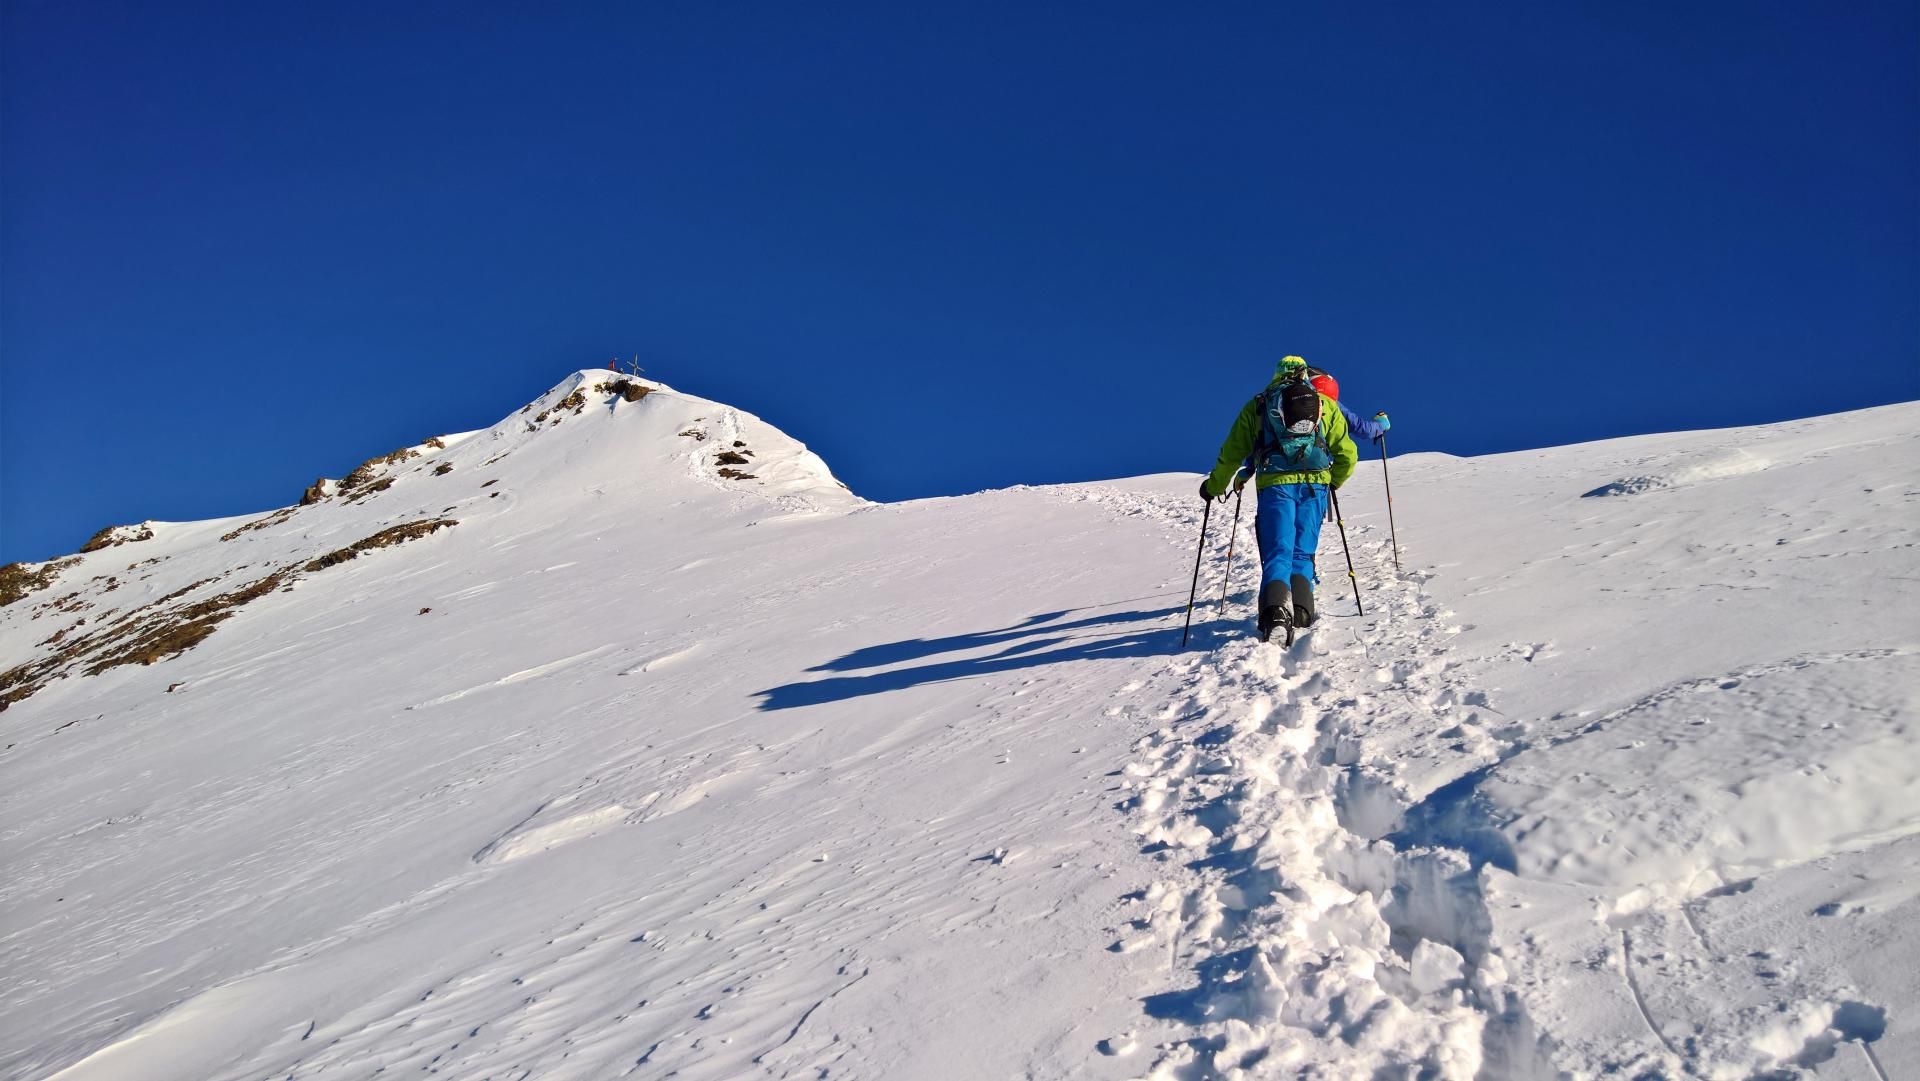
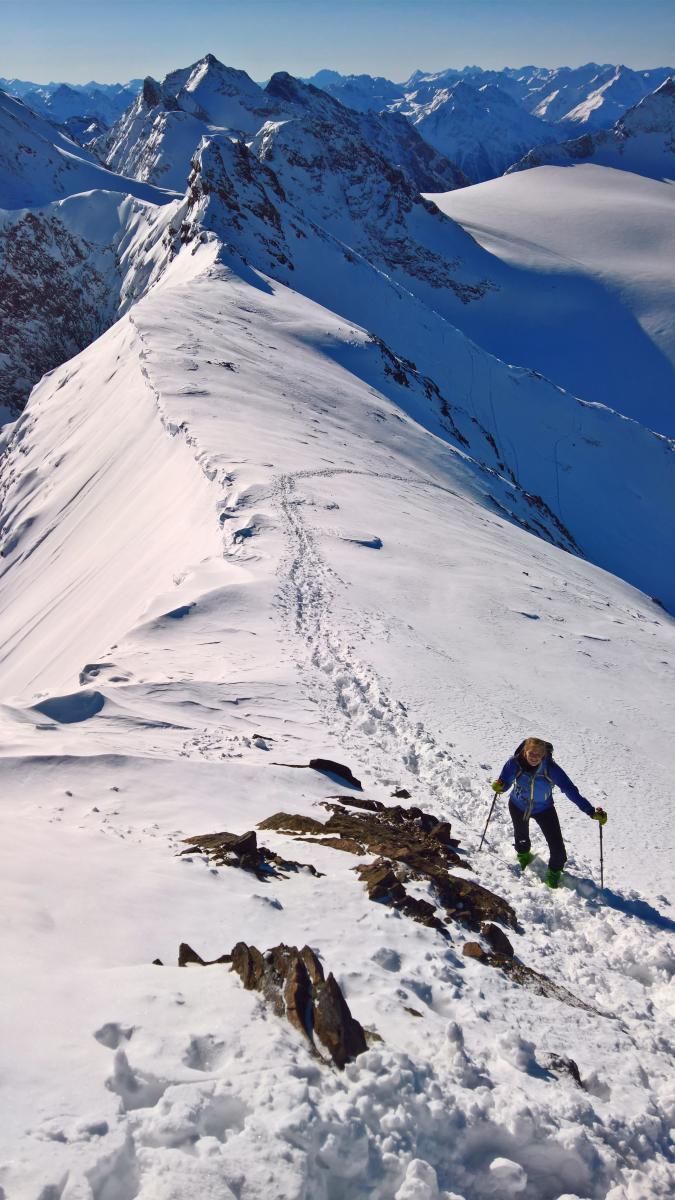
Alternatively there was a footpath up the steep slope (40-45°) directly to the ridge, which we followed in the ascent. From the ridge simply continue to the top of the Schneeglocke.
Descent & Variants
Descent like ascent.
Option 1: At about 2950m you can traverse to the right (NW) and descend via different steep couloirs. It”s best to keep to the north.
Option 2: Follow the same route as the ascent, but keep right at about 2700m to the rock face. You now reach a beautiful couloir, through which you reach the valley floor.
Photo Gallery
A selection of 10 photos from the tour:
Map and Avalanche Risk
[ASTRO_MAP_INFO_EN]
Image Gallery (10 Photos)
Show all 7 more photos
Slope Map
Tour Planning & Important Notes (OpenSlopeMap)
Tour Planning
You can plan and create your own tour directly in the map. The tour can then be downloaded as a GPX track.
Disclaimer
Every user of the map agrees to use the maps provided on OpenSlopeMap.org at their own responsibility and risk. OpenSlopeMap.org and its operators accept no responsibility for damages.
Map Explanation
- Slope inclinations are a very important criterion in avalanche risk management. However, slope inclination alone should never be the sole criterion!
- The resolution for Austria and South Tyrol is based on a digital terrain model (DTM) with 10m resolution. Outside these areas, accuracy is significantly lower.
- A map can only ever provide a limited view of real conditions.
Frequently Asked Questions
How difficult is this splitboard route?
The route is classified with difficulty level 4.
How many vertical meters does the tour include?
The ascent covers approximately 1310 vertical meters.
How long does the ascent take?
The tour takes around 5 hours.
Where does the route start?
The starting point of the tour is Partenen.