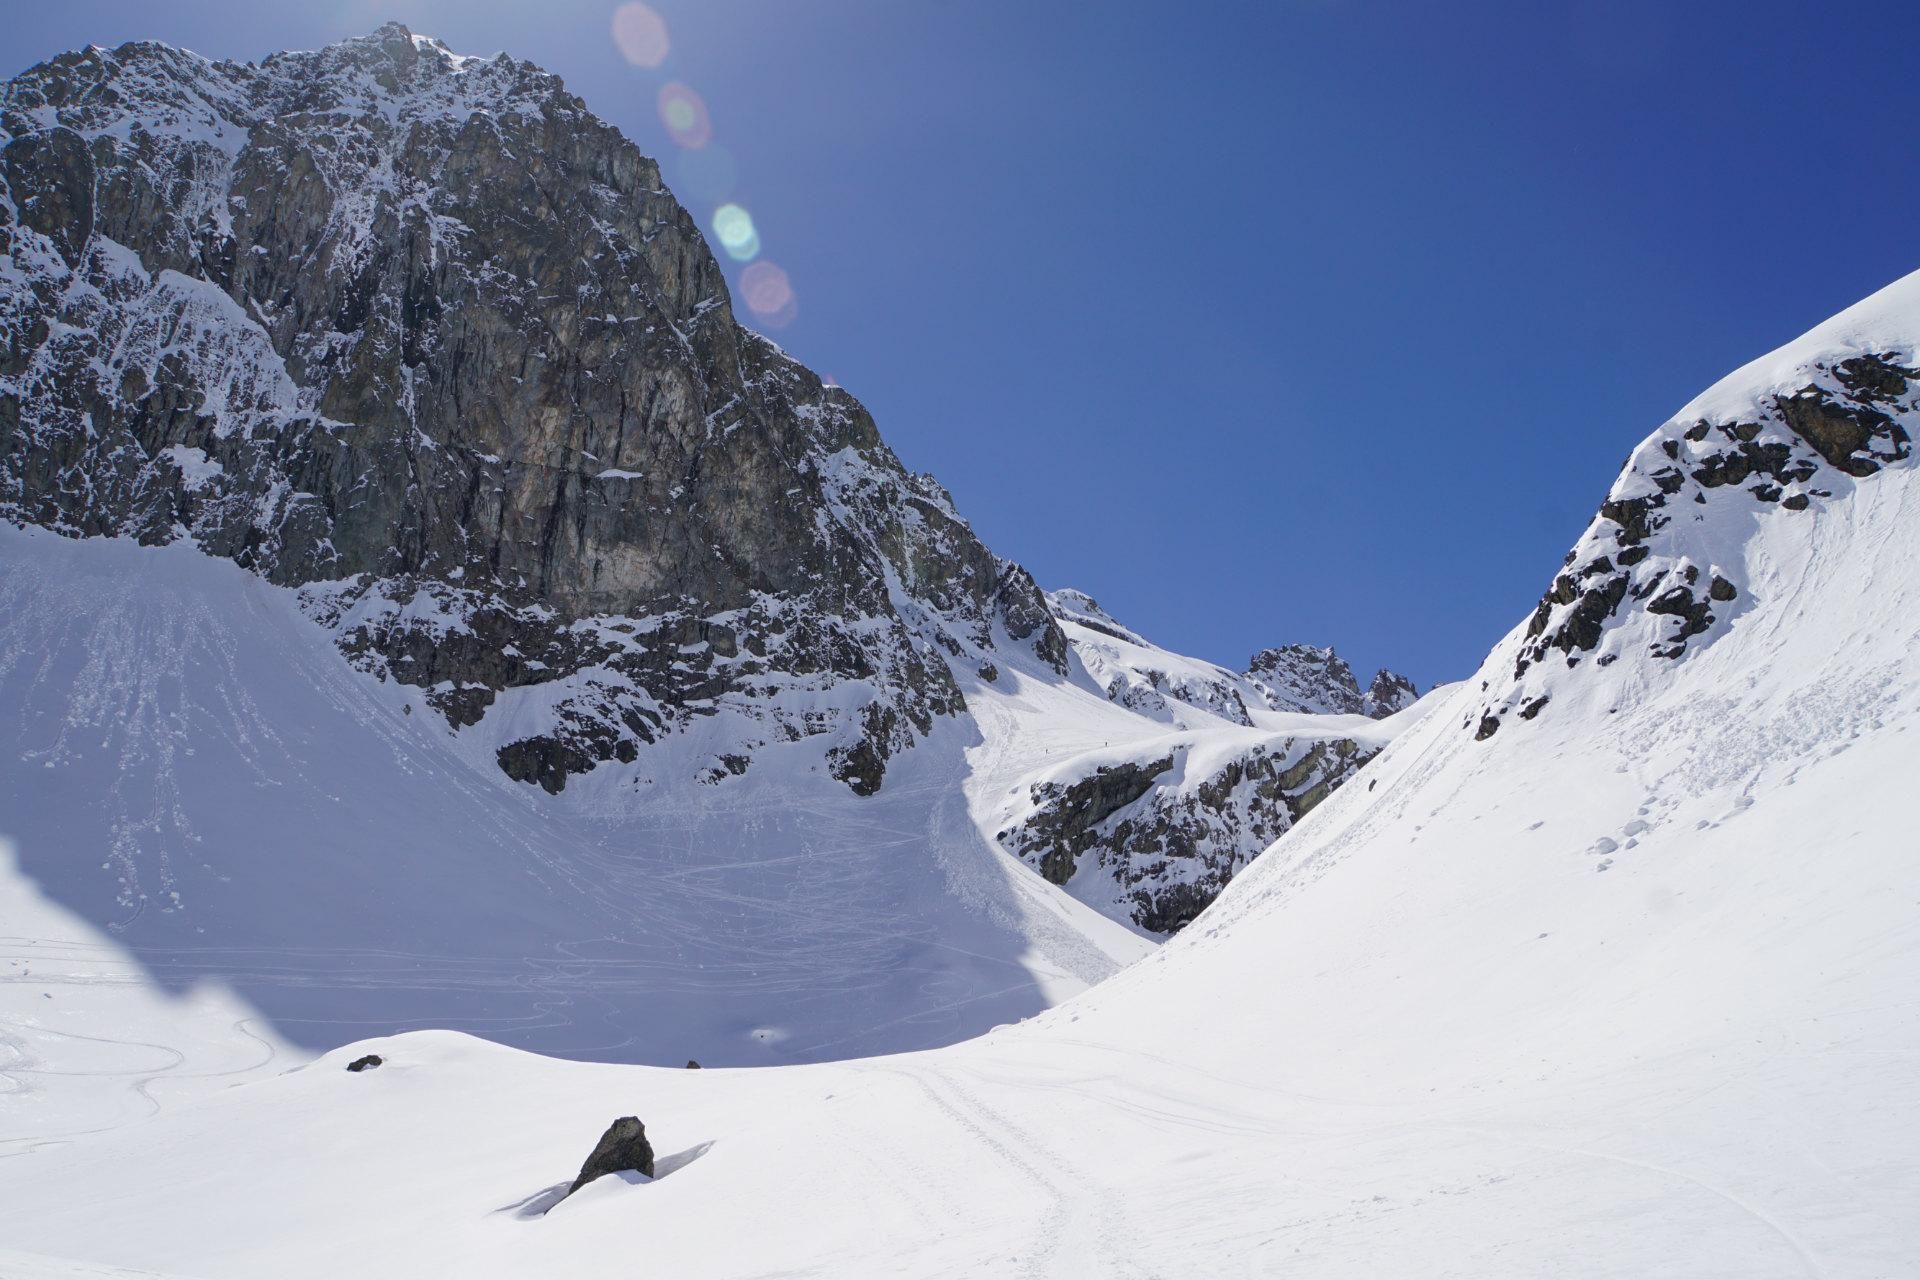
Piz Lagrev
Route Character
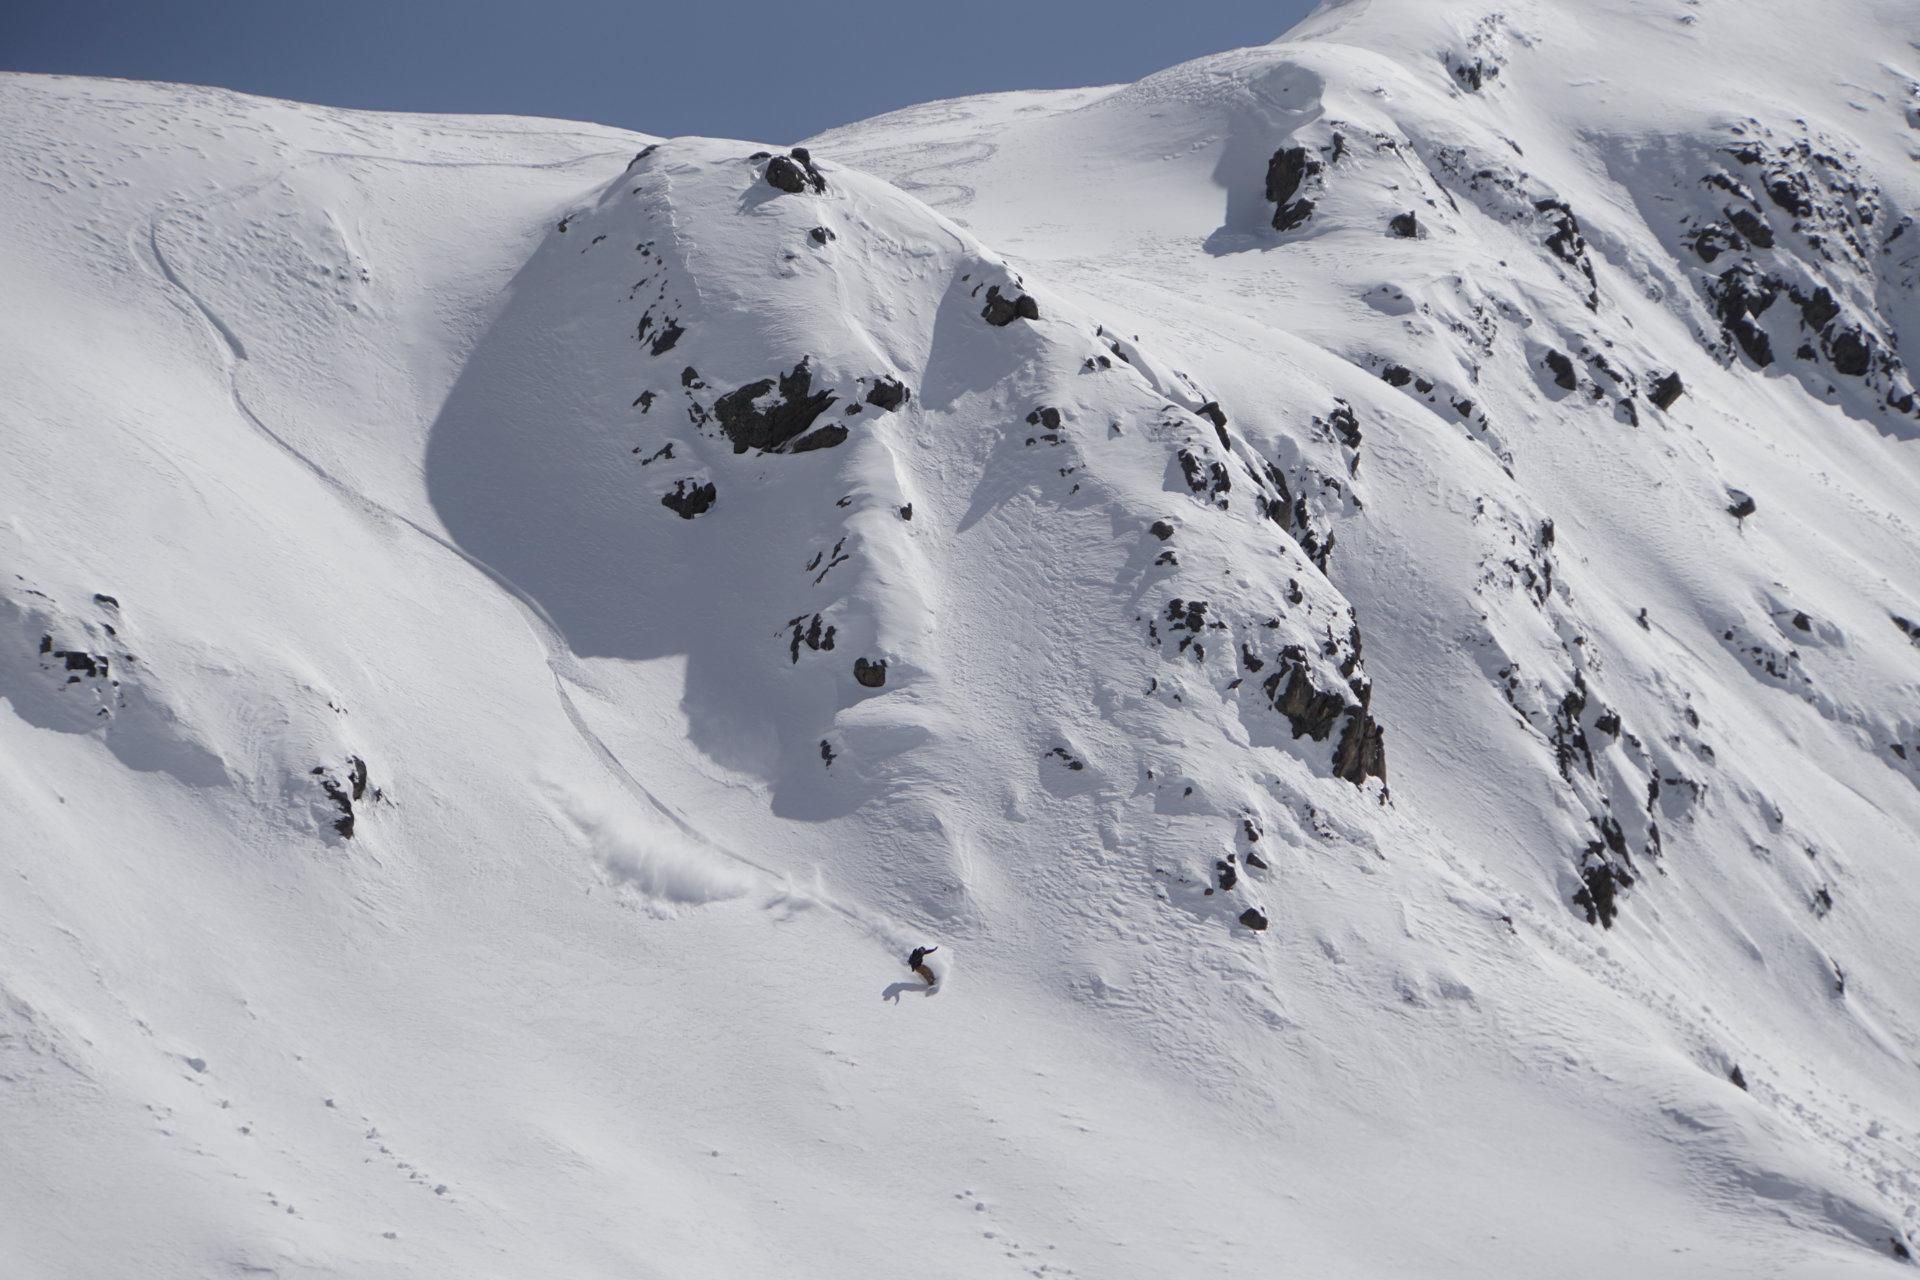
Nice, high and easy tour at the Julierpass. Except for a short steep step at the beginning of the tour and the last meters on the summit slope, the tour is in an under 30° terrain. Due to the starting altitude of over 2000m and the north facing descent, the tour is still feasible at the end of the season. This tour is not one of the insider tips in the area and is quite often done. Nevertheless you can still find some untracked variants if you keep your eyes open. With fresh snow you should be in time.
Starting Point & Village
Starting point: At the starting point there is a small parking bay with a bridge over the stream running parallel to the pass road. Village: St. Moritz
Ascent & Route
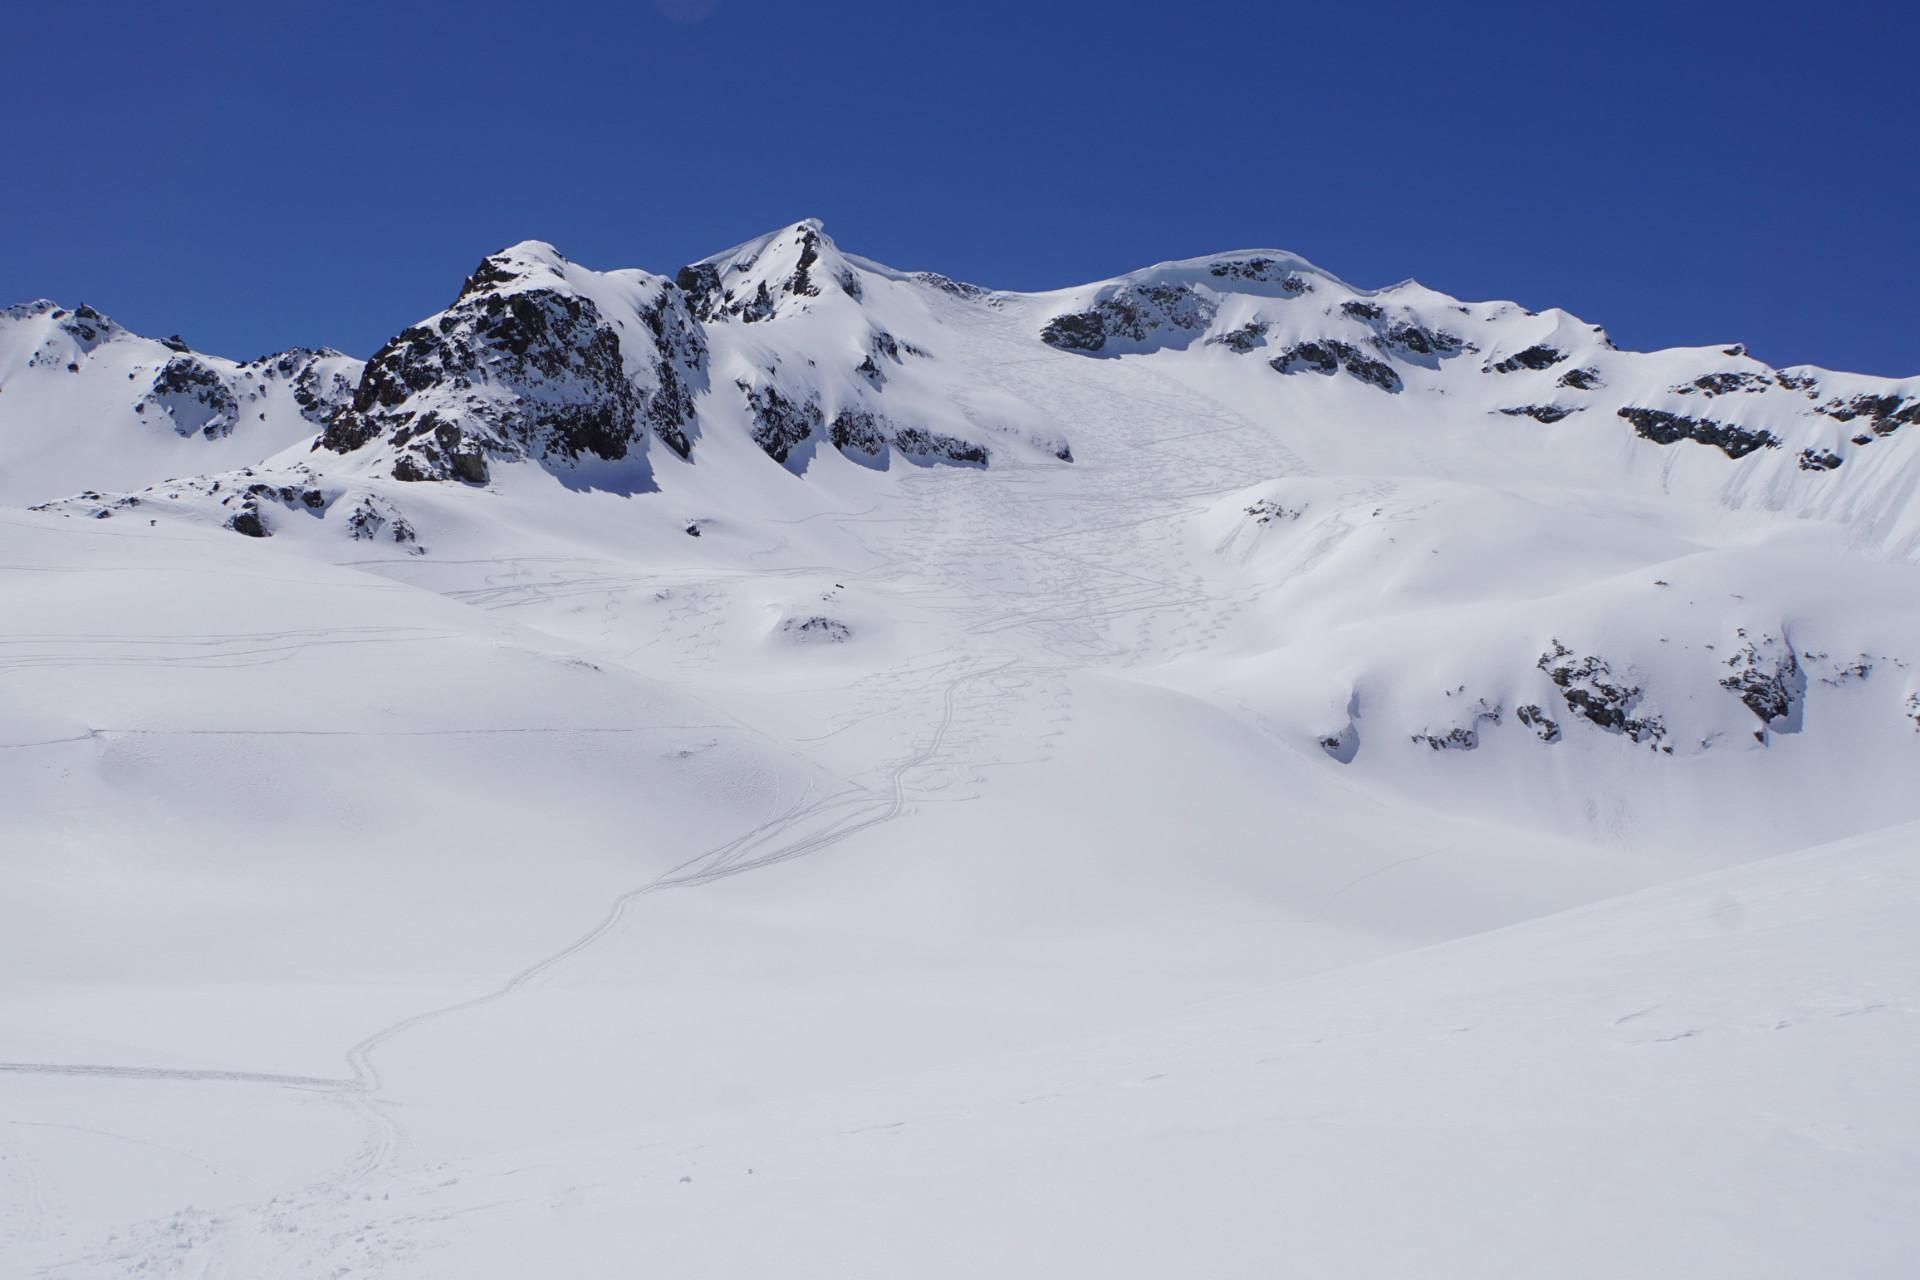
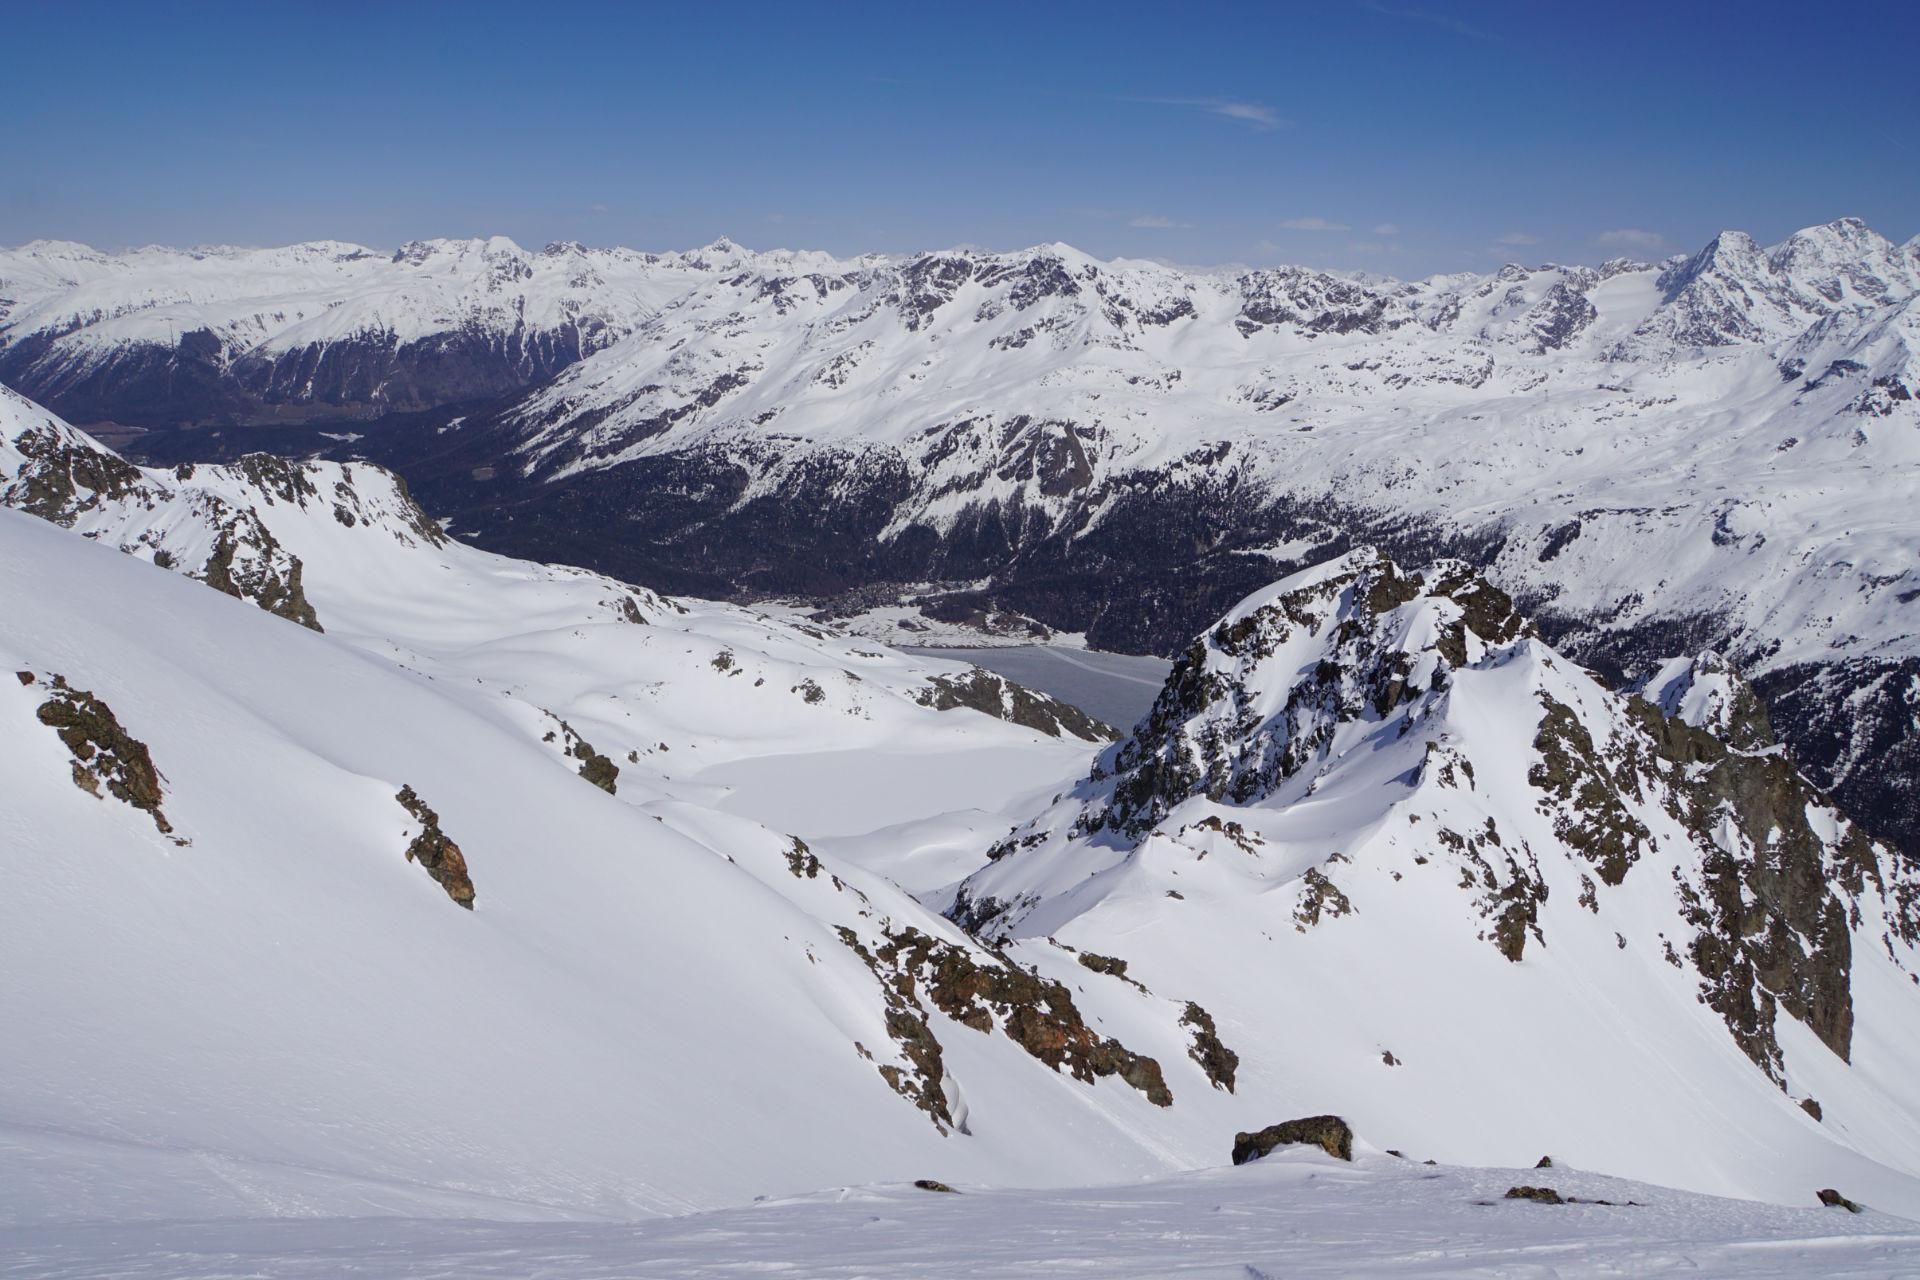
The basin in southern direction up to Gianda Polaschin. Here is the crucial point of the tour: A short vertical ramp (under 35°) of 50 m height up to the cliffs of Piz Polaschin. Traverse a little below the rock face in a south-south-western direction until the terrain becomes flatter again. At this traverse, avalanches can descend from the higher-lying rock gully, so cross the spot quickly and keep an eye on the rock gully. Continue in southwestern direction until you reach Vadret Lagrev. In high winter and spring, you cross the small mountain lake Lej Lagrev without noticing it. The last meters to point 3084 are a bit steeper again. From this secondary peak you already have a very nice view of St. Moritz and all the surrounding mountains. From here you can continue with the splitboard over the mostly blown off ridge in NW direction to point 3109 and on foot over the slightly exposed ridge another 700m to the summit. In the track the tour is only marked up to the secondary summit.
Descent & Variants
Along the ascent route.
Maps
Swisstopo Map 268SKI Julierpass 1:50’000
Photo Gallery
A selection of 4 photos from the tour:
Map and Avalanche Risk
[ASTRO_MAP_INFO_EN]
Image Gallery (4 Photos)
Show all 1 more photos
Slope Map
Tour Planning & Important Notes (OpenSlopeMap)
Tour Planning
You can plan and create your own tour directly in the map. The tour can then be downloaded as a GPX track.
Disclaimer
Every user of the map agrees to use the maps provided on OpenSlopeMap.org at their own responsibility and risk. OpenSlopeMap.org and its operators accept no responsibility for damages.
Map Explanation
- Slope inclinations are a very important criterion in avalanche risk management. However, slope inclination alone should never be the sole criterion!
- The resolution for Austria and South Tyrol is based on a digital terrain model (DTM) with 10m resolution. Outside these areas, accuracy is significantly lower.
- A map can only ever provide a limited view of real conditions.
Frequently Asked Questions
How difficult is this splitboard route?
The route is classified with difficulty level 2.
How many vertical meters does the tour include?
The ascent covers approximately 914 vertical meters.
How long does the ascent take?
The tour takes around 2.5 hours.
Where does the route start?
The starting point of the tour is St. Moritz.