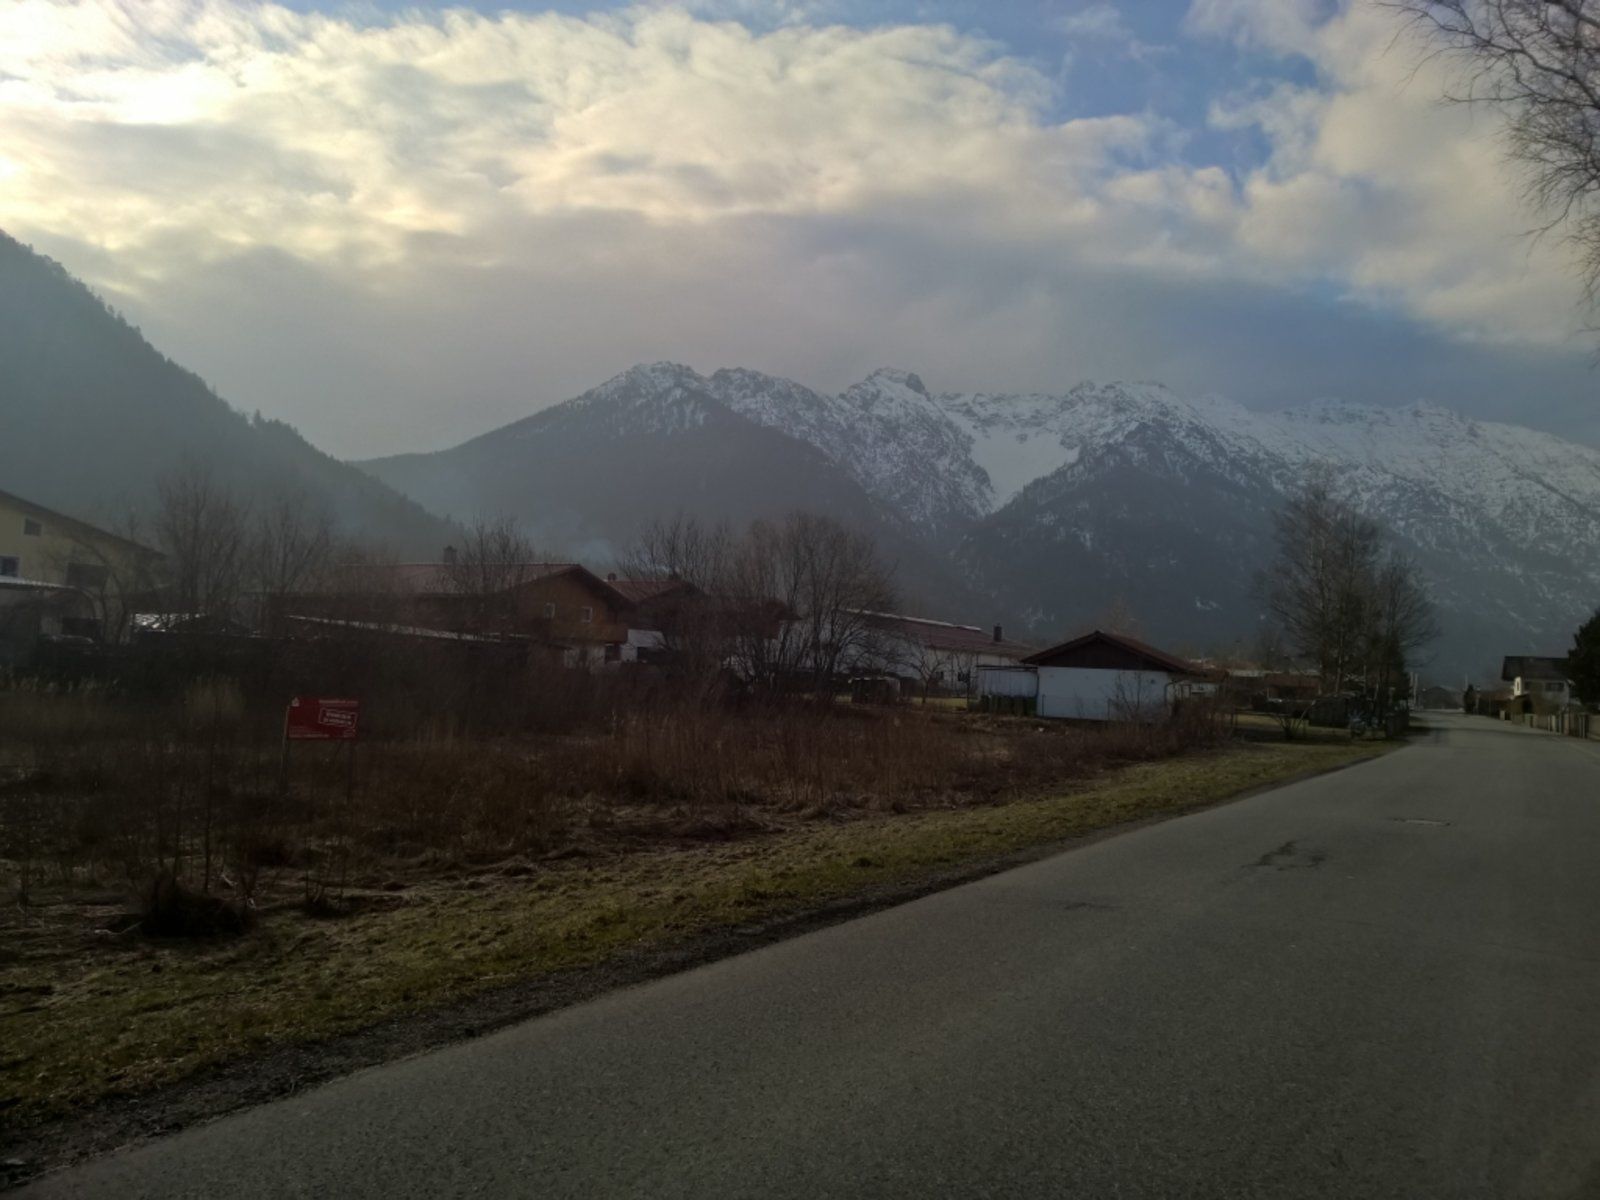
Hohe Kiste - Kistenkar
Route Character
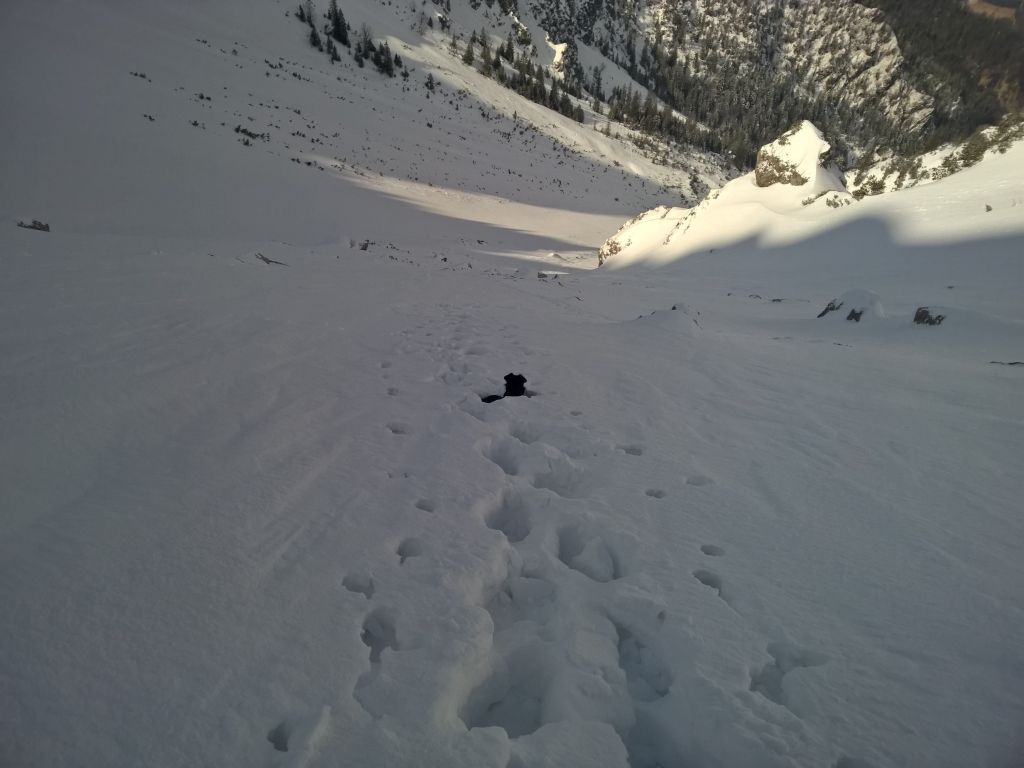
Very rarely used, scenic and very attractive Voralpentour (Estergebirge) - with a difficult wayfinding in mid winter and a steep end! Only to be recommended for very safe conditions, if available, even in mid-winter. Unfortunately the first 400m have to be walked , in safe conditions it’s often free of snow… i. e. the board has to be carried.
Equipment: complete touring equipment + crampons for board and feet
Starting Point & Village
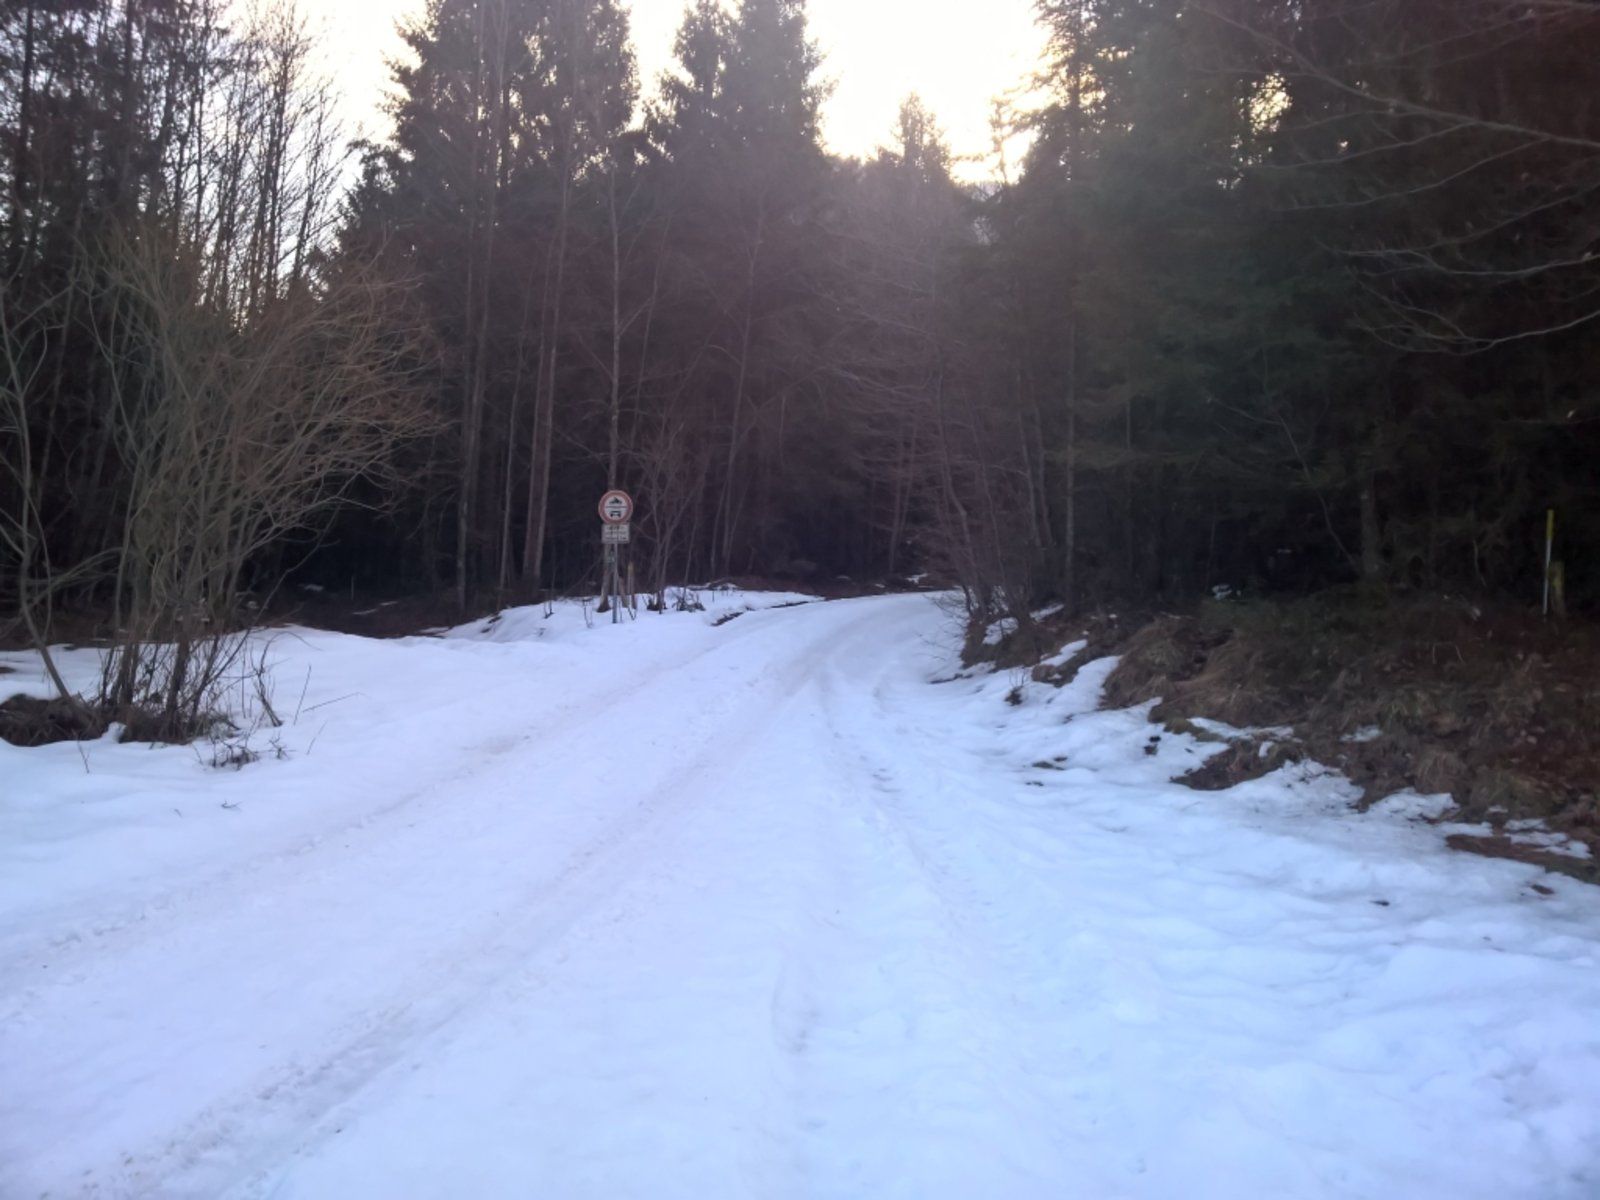
Starting point: Parking at the lift, end of forest road (picture 2) Village: Eschenlohe
Ascent & Route
From the parking area, you have the choice: if there is snow, follow the right path towards the Achtalschlucht (gorge), if there is little snow, you can follow the left of the two paths - it is more scenic. Both ways merge at the top. In the track the right track is recorded - which is described here.
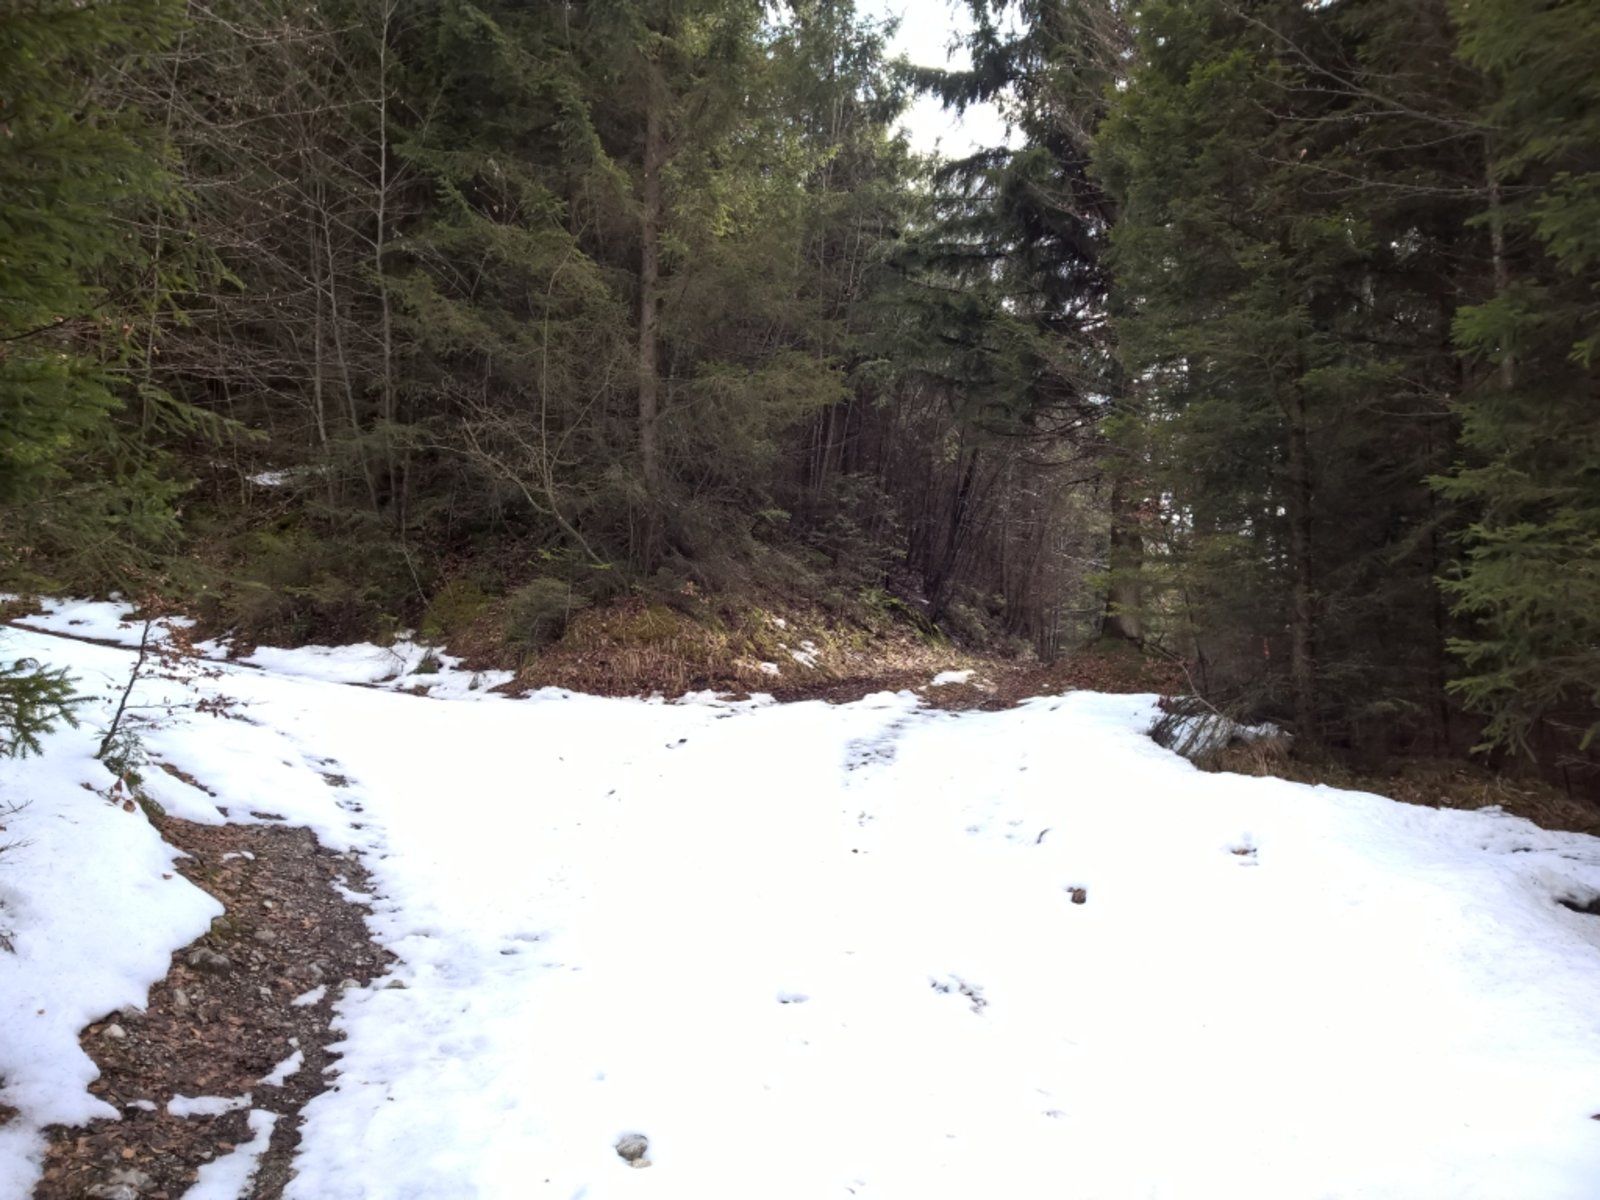
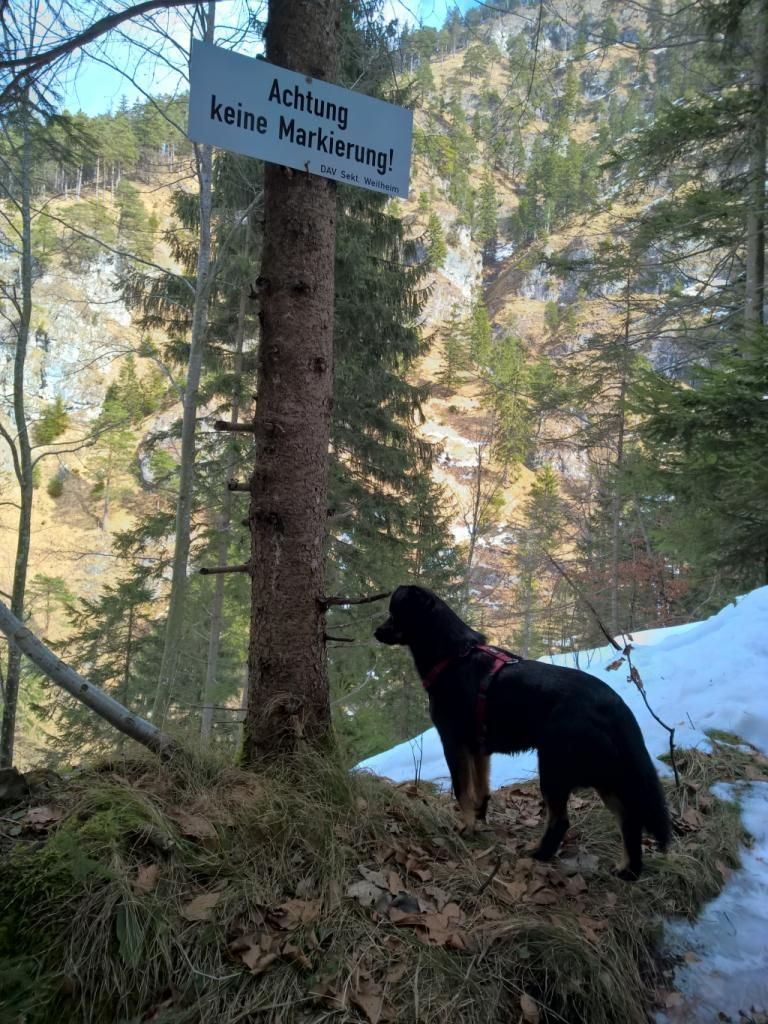
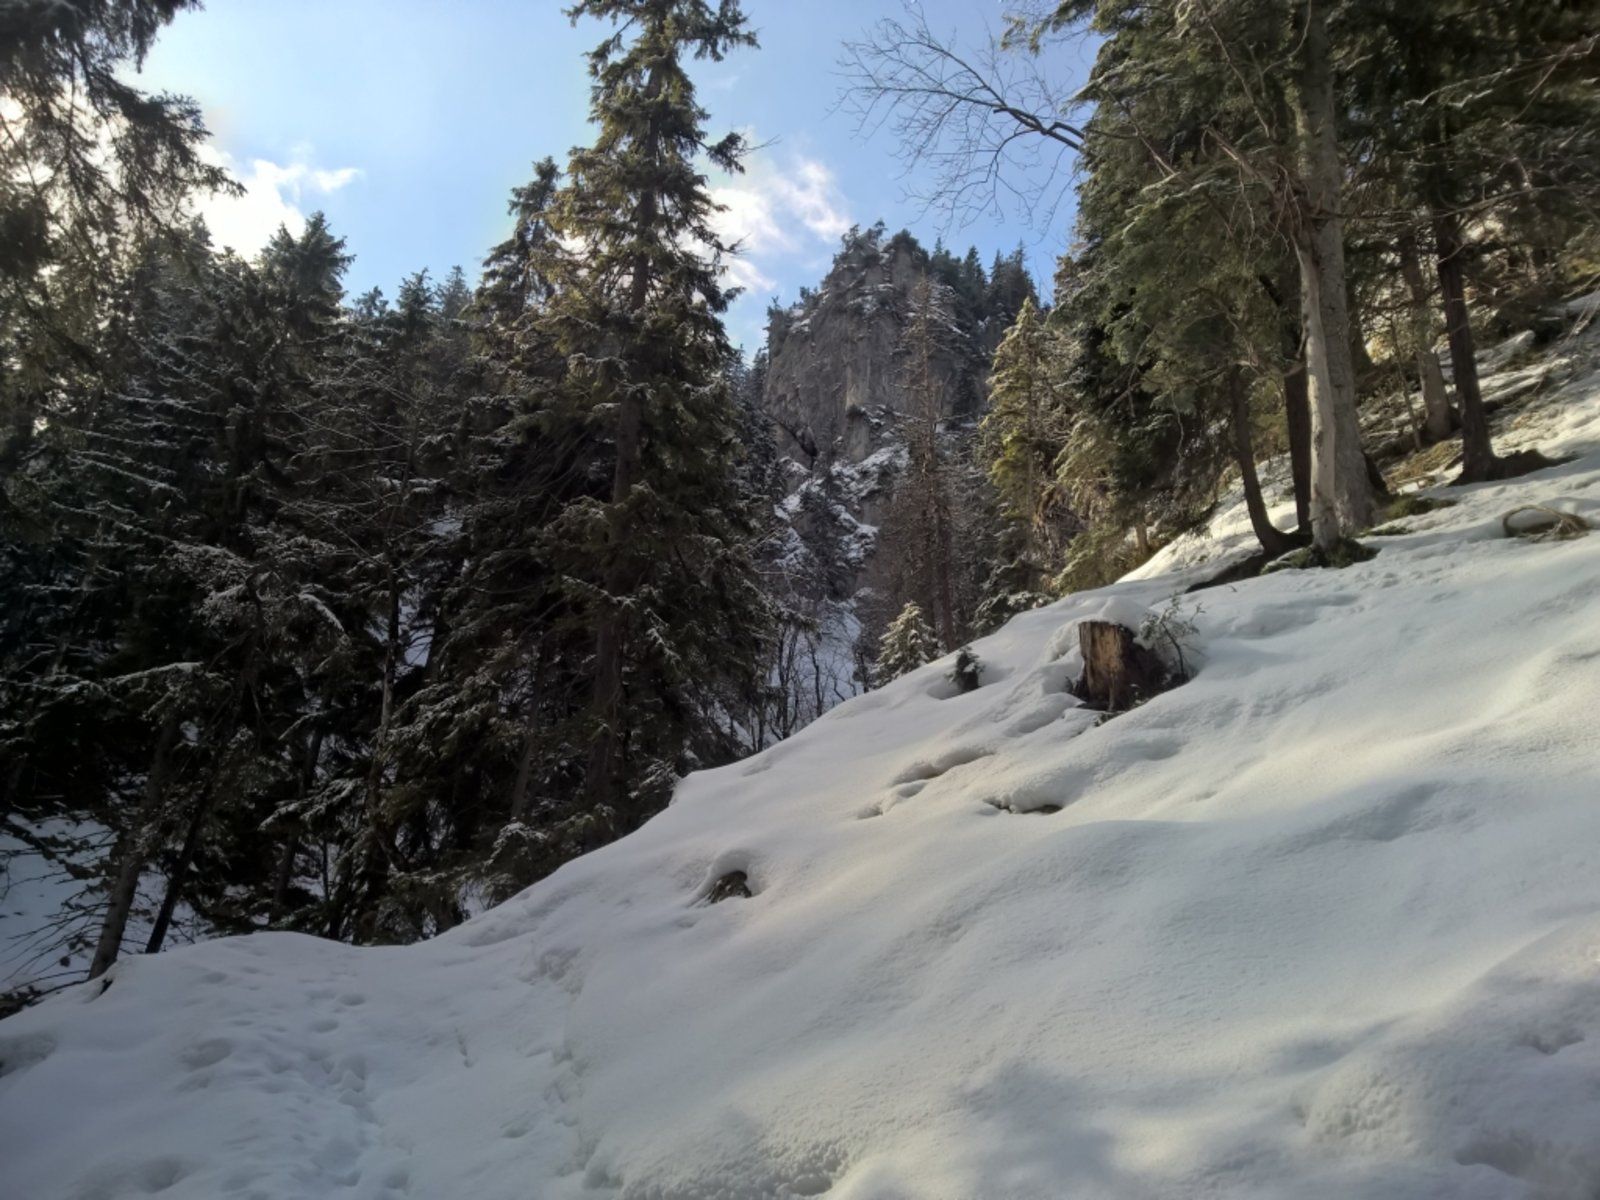
So we follow the forest road uphill until we turn left at the next opportunity on a cart road (picture 3). Follow this path until you reach the point where it goes downhill, then turn right and follow the path that leads you into Kistenkar. A few metres above you will find the signpost - picture 4.
From here on, it becomes complicated without any visible path or ascent tracks.
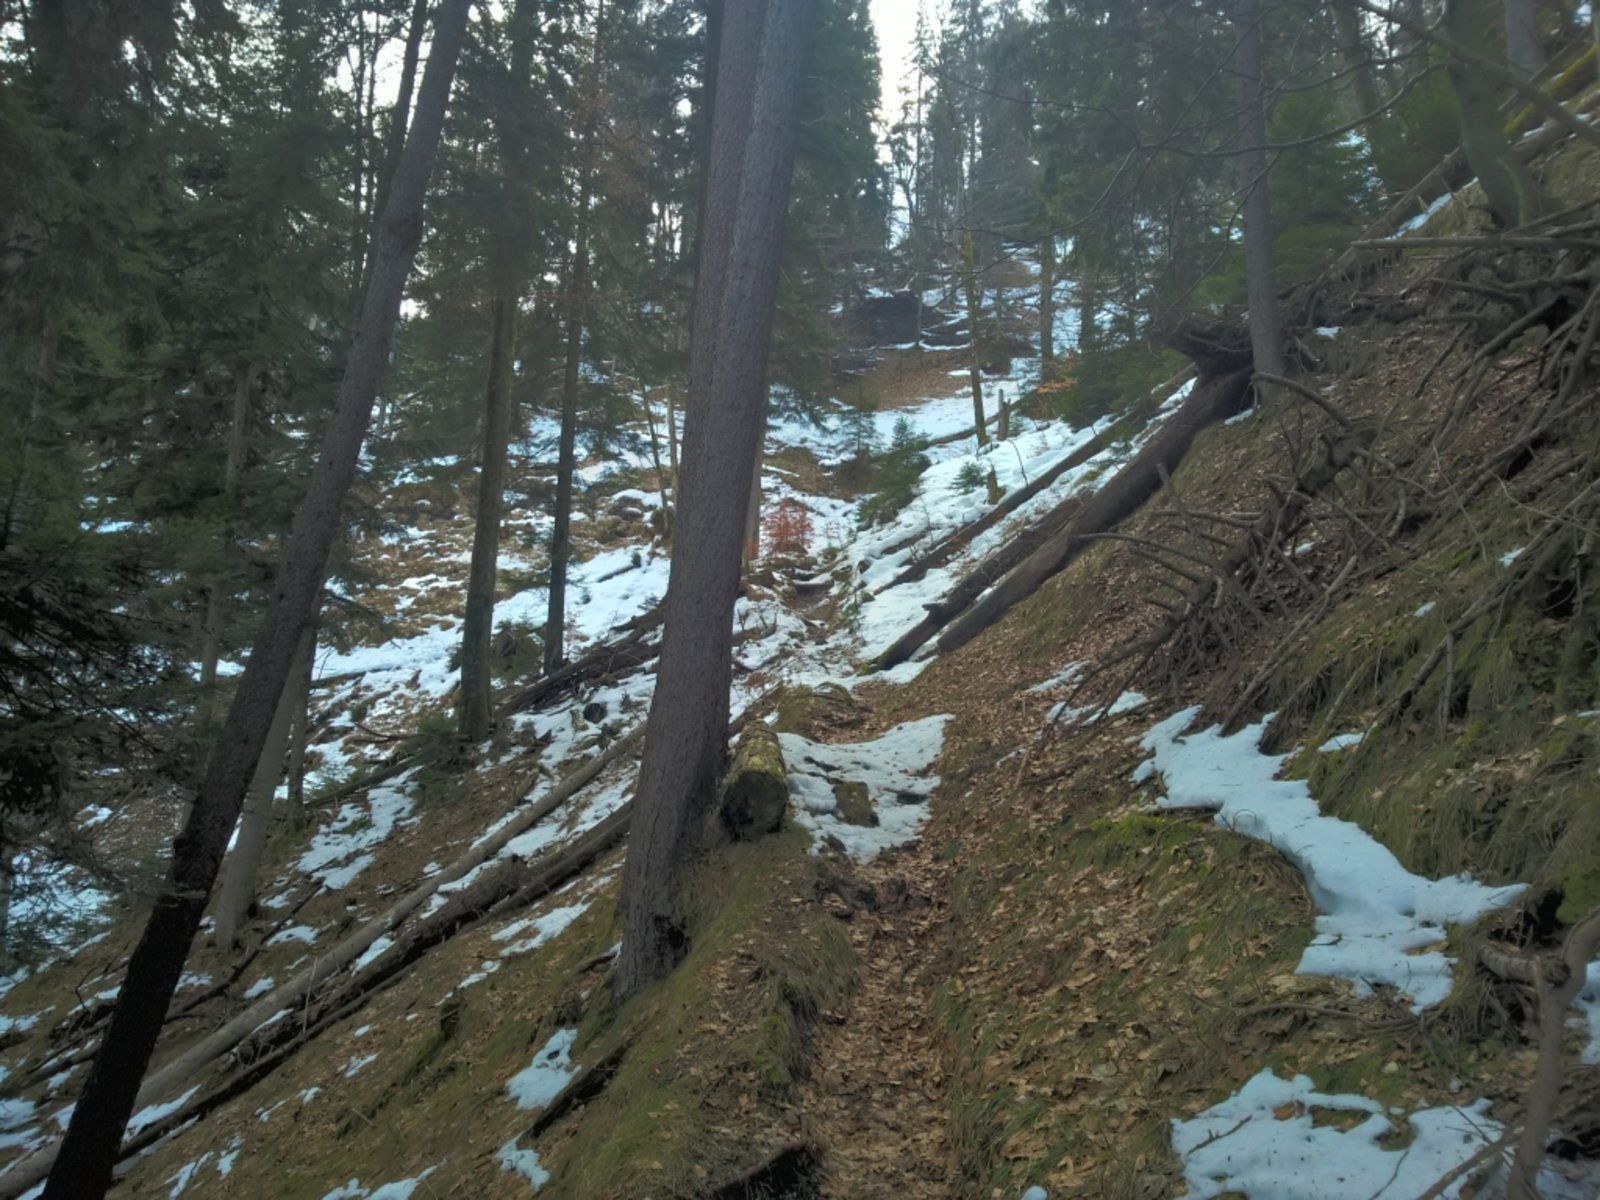
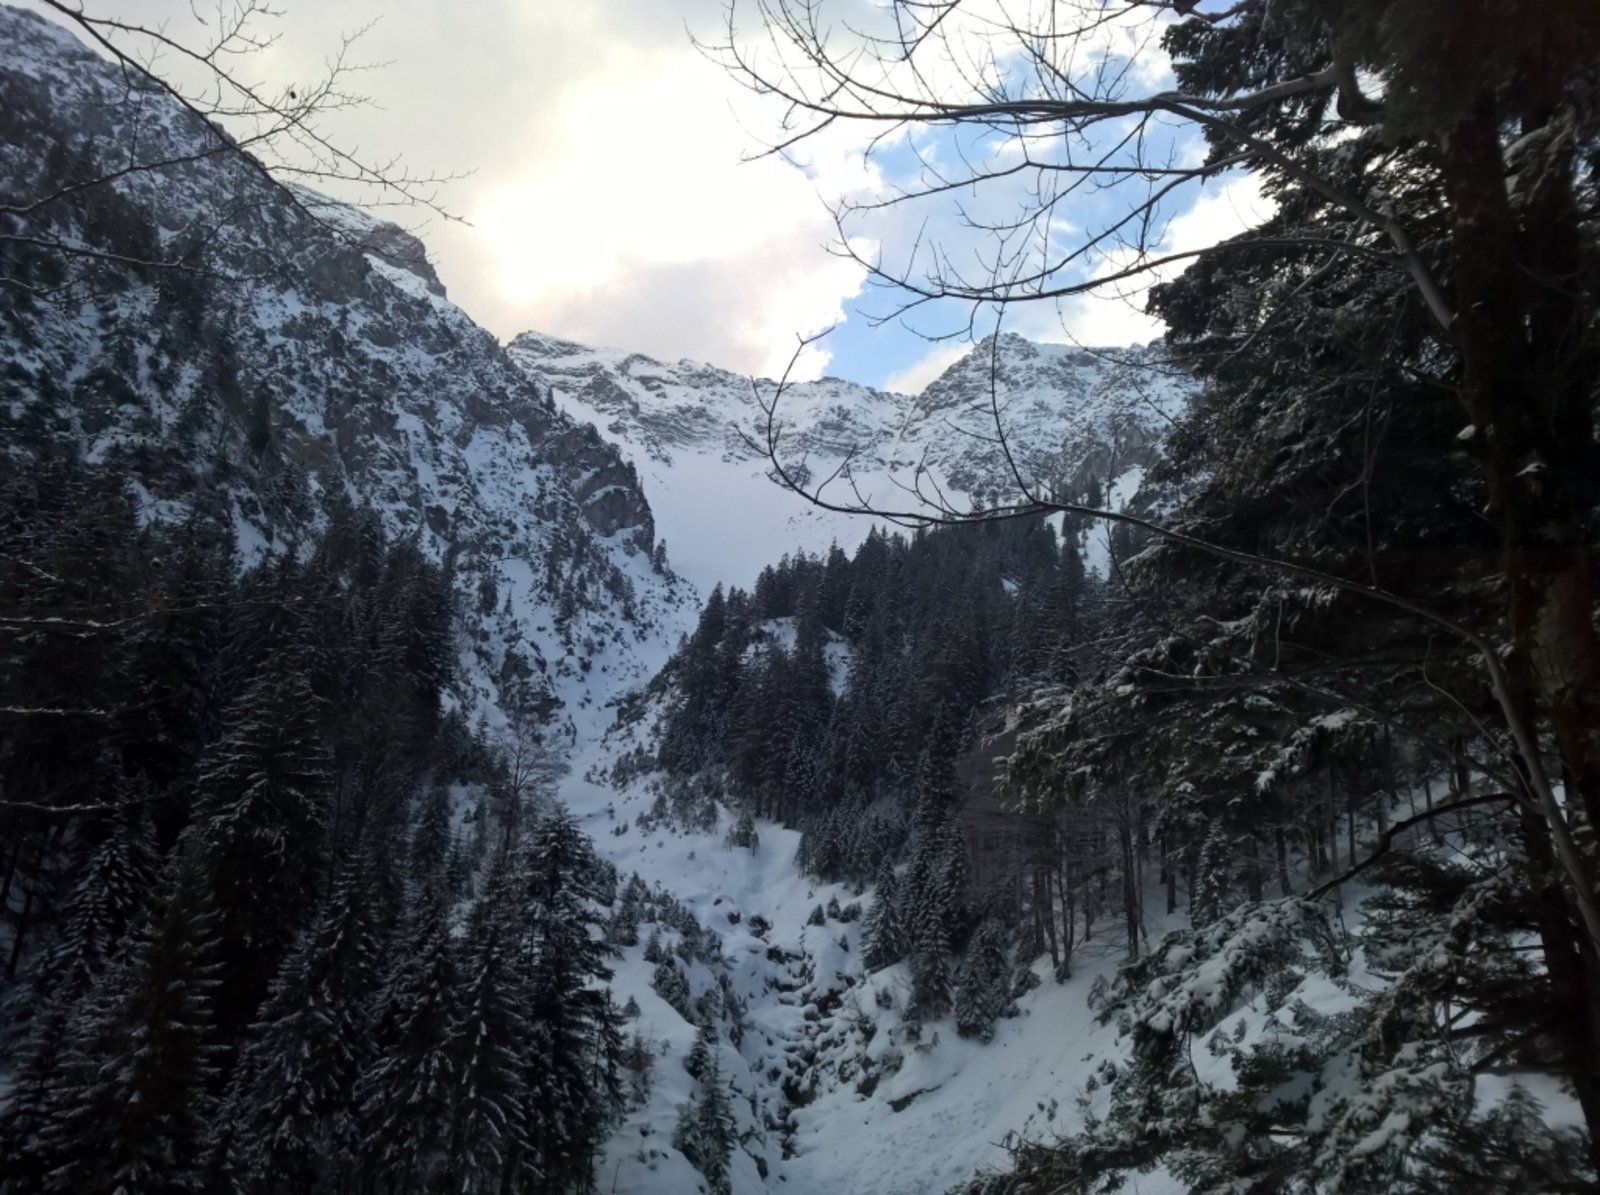
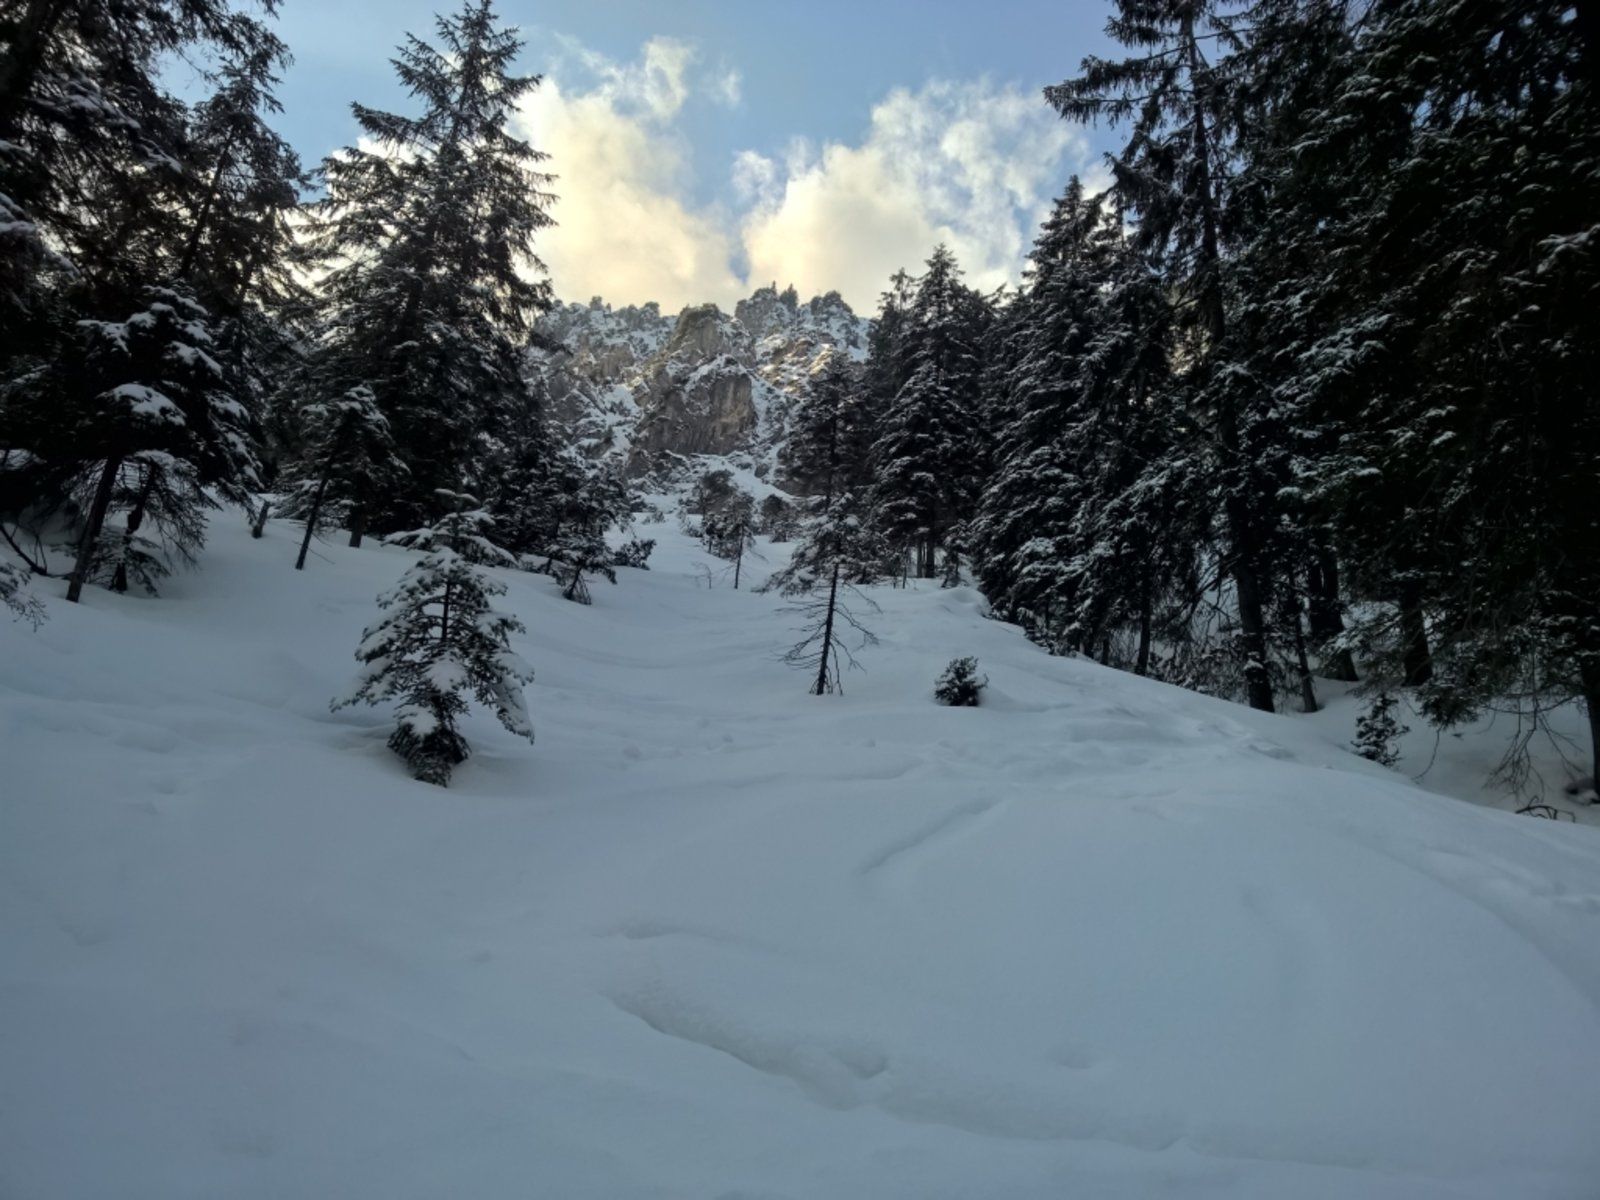
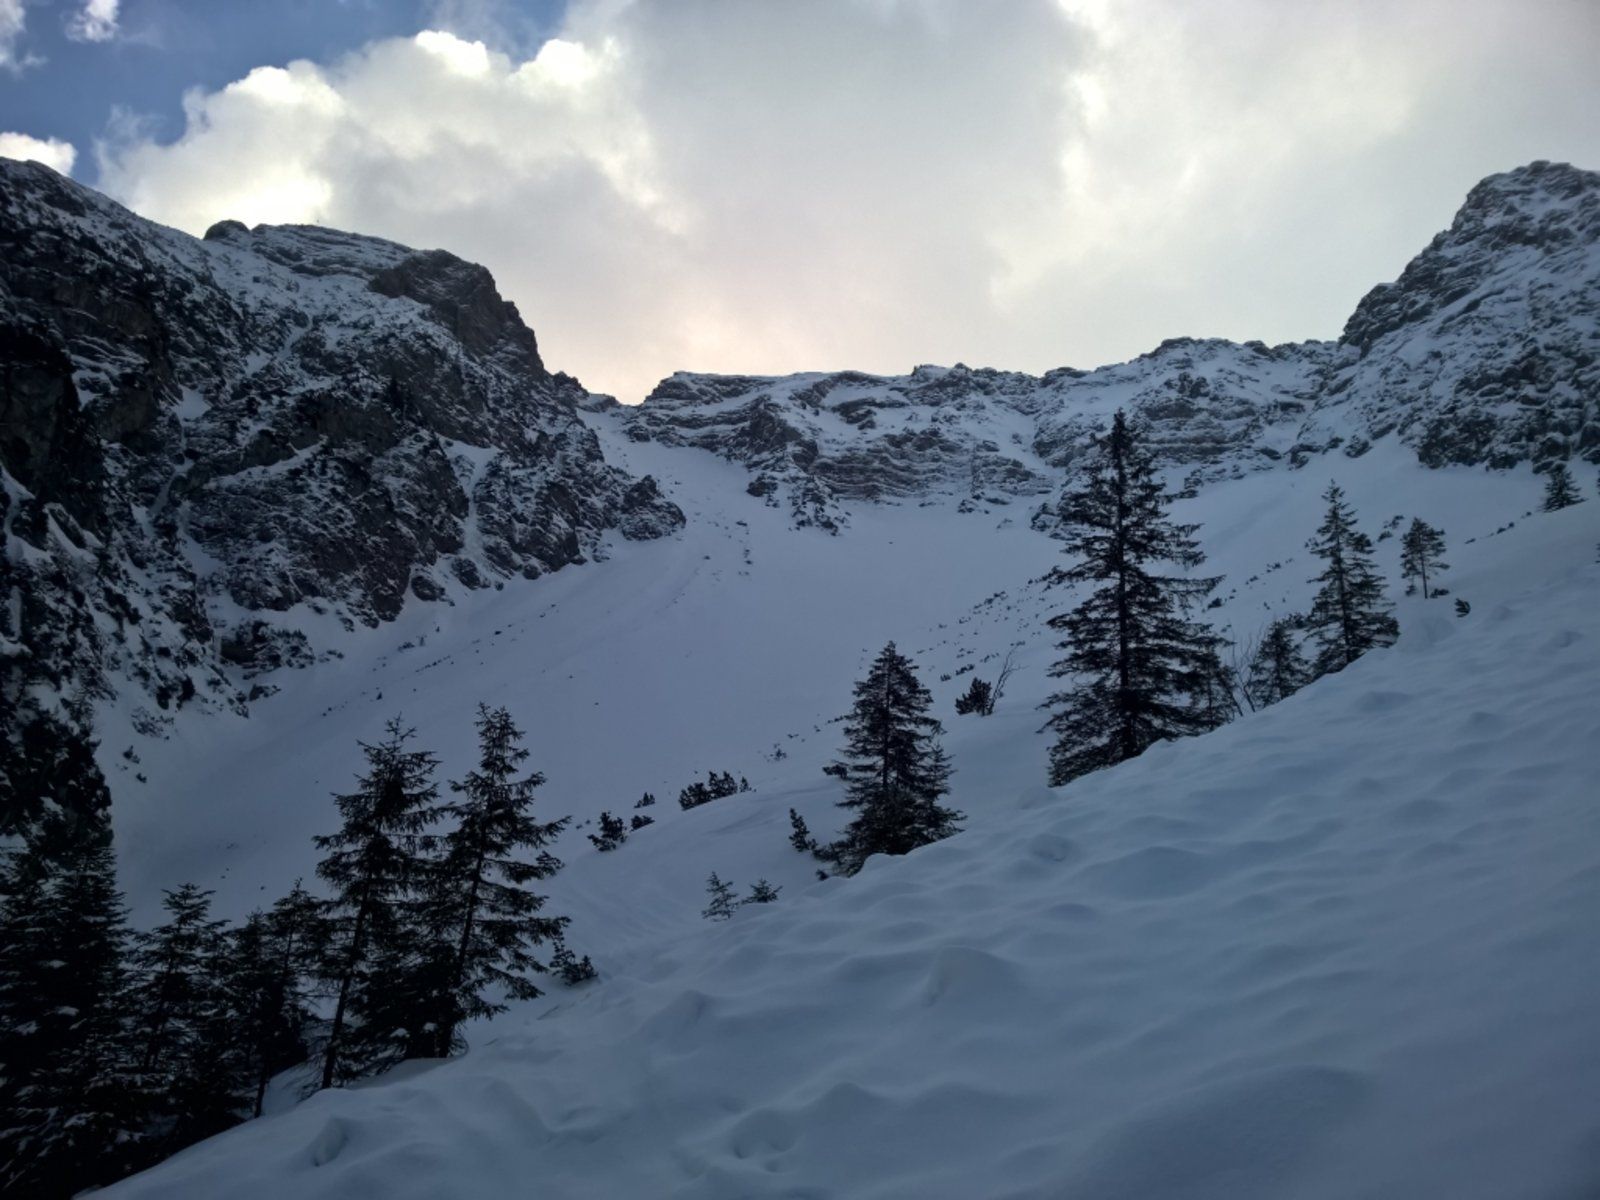
At first the path leads in a right-hand bend, then quite directly to a forest ridge, which one follows up to about 980m and then turns left-holding into the wooded flank above the Urlaine. This long traverse (picture 5 + 6 + 7) leads you slightly uphill and further into the valley. Beware of wet snow slides from the slopes to the right above you. There are several edges / ribs to be crossed stretching down from the top into the Lainetal, rather you reach a clearing (picture 8) on about 1100 hm. Here you ascend keepin to the right into the Kar which you reach in the right part. From there, take advantage and notice of the terrain and ascend into the already visible notch (Fig. 9).
Descent & Variants
like ascent
Maps
AV-Karte BY 9 “Estergebirge – Herzogstand, Wank” 1:25 000
Photo Gallery
A selection of 10 photos from the tour:
Map and Avalanche Risk
[ASTRO_MAP_INFO_EN]
Image Gallery (10 Photos)
Show all 7 more photos
Slope Map
Tour Planning & Important Notes (OpenSlopeMap)
Tour Planning
You can plan and create your own tour directly in the map. The tour can then be downloaded as a GPX track.
Disclaimer
Every user of the map agrees to use the maps provided on OpenSlopeMap.org at their own responsibility and risk. OpenSlopeMap.org and its operators accept no responsibility for damages.
Map Explanation
- Slope inclinations are a very important criterion in avalanche risk management. However, slope inclination alone should never be the sole criterion!
- The resolution for Austria and South Tyrol is based on a digital terrain model (DTM) with 10m resolution. Outside these areas, accuracy is significantly lower.
- A map can only ever provide a limited view of real conditions.
Frequently Asked Questions
How difficult is this splitboard route?
The route is classified with difficulty level 303.
How many vertical meters does the tour include?
The ascent covers approximately 1200 vertical meters.
How long does the ascent take?
The tour takes around 3 hours.
Where does the route start?
The starting point of the tour is Eschenlohe.